Kubernetes 101 – Part 4: Deploying Applications and Setting Up Kasten K10
Kubernetes 101 – Part 4: Deploying Applications and Setting Up Kasten K10
In Part 1, we covered the core concepts of Kubernetes. Part 2 had us building our cluster from scratch, and in Part 3, we set up proper storage and networking.
Now comes the fun part - actually using our cluster! In this final part, we’ll:
- Deploy Some Real Applications: We’ll set up a couple of stateful applications to work with
- Install and Configure Kasten K10: Get our backup solution in place
- Create Our First Backup Policy: Set up automated protection for our applications
Why These Applications?
For our demo, we’ll deploy WordPress (everyone’s favorite demo app) and MySQL. I’ve picked these for a few good reasons:
- They’re stateful applications that actually need persistent storage
- They represent real-world workloads you might run
- They’re complex enough to show why backups matter
- They work well with Kasten K10’s application-consistent backups
The beauty of using WordPress is that it gives us both a database (MySQL) and application tier to protect, which is exactly the kind of scenario you’d face in production. Plus, if something goes wrong during our testing, we can easily restore it and try again.
Setting Up Our Applications
Installing WordPress
First up, let’s deploy WordPress. I’ve created a YAML file to automatically deploy WordPress and a MySQL pod into a namespace called wordpress. This will automatically be exposed via the MetalLB load balancer so we can access it externally. I’ve also added the wordpress.yml file to my GitHub repo so you don’t have to try copying and pasting it from the blog.
Run the command below to create the WordPress pods:
kubectl apply -f wordpress.yml
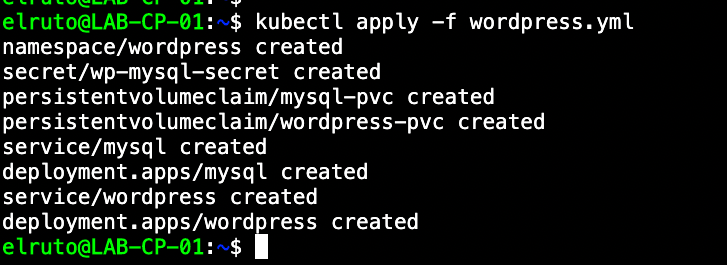
As mentioned, this will automatically deploy both WordPress as well as MySQL in a single namespace. We can verify this by checking the namespace - you should see two pods running.

We can also confirm by checking the services that it’s indeed exposed via a load balancer and we can reach it from our jumphost:
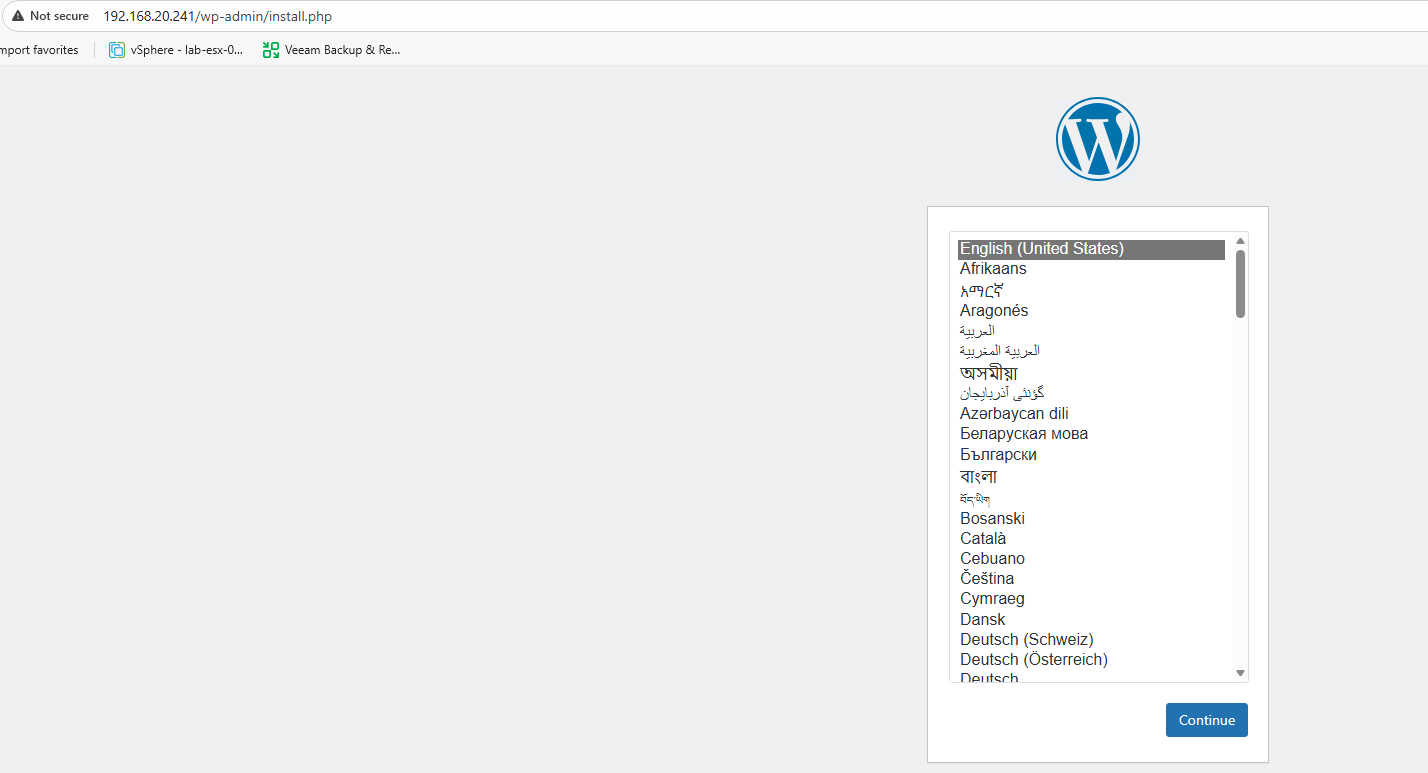
Perfect! At this point, you should be able to navigate to the WordPress installation wizard using the external IP that MetalLB assigned. Go ahead and set up WordPress with some test data - we’ll be using this to verify our backups work correctly later on.
Installing Kasten K10
Now that we have some applications to protect, let’s get Kasten K10 up and running.
Prerequisites
Before we install K10, we need to make sure a few things are set up. Luckily, Kasten provides a pre-flight check script that validates everything for us. We’ll also need to add the Helm repository and create a namespace for Kasten.
Here’s what we need to do:
- Add the Helm Repo
- Create the Kasten Namespace
- Run pre-flight checks
We can do all of that by running:
helm repo add kasten https://charts.kasten.io/
kubectl create namespace kasten-io
curl https://docs.kasten.io/downloads/8.0.12/tools/k10_primer.sh | bash

Hopefully at this point we’ve done everything correctly and it’s all showing green OK status, which means we’re finally ready to install Kasten. Drum roll please…
Installation Steps
Installing Kasten couldn’t be easier. Literally with one command we can deploy Kasten to our newly created Kubernetes cluster:
helm install k10 kasten/k10 --namespace=kasten-io \
    --set externalGateway.create=true \
    --set auth.tokenAuth.enabled=true
What this command does is install Kasten using the Helm chart and also enables Kasten to be exposed via the load balancer, as well as enable token authentication so we can use a token to gain access to the console.

Initial Configuration
We’ll need to create a service account with the required privileges to gain access to the Kasten console. Because this is a lab, I’m basically just going to give my account full unrestricted access, but I would highly recommend you follow the principle of least privilege and only give the permissions you require in a production environment.
Here’s the service account configuration:
---
apiVersion: v1
kind: ServiceAccount
metadata:
  name: my-kasten-sa
  namespace: kasten-io
---
apiVersion: rbac.authorization.k8s.io/v1
kind: ClusterRole
metadata:
  name: k10-superadmin
rules:
- apiGroups: ["*"]
  resources: ["*"]
  verbs: ["*"]
---
apiVersion: rbac.authorization.k8s.io/v1
kind: ClusterRoleBinding
metadata:
  name: k10-superadmin-my-sa
roleRef:
  apiGroup: rbac.authorization.k8s.io
  kind: ClusterRole
  name: k10-superadmin
subjects:
- kind: ServiceAccount
  name: my-kasten-sa
  namespace: kasten-io
Once we’ve created our service account, we can simply get the token we need and access the console via the load balanced address we got assigned by MetalLB:
#Get Token
kubectl --namespace kasten-io create token my-kasten-sa --duration=24h
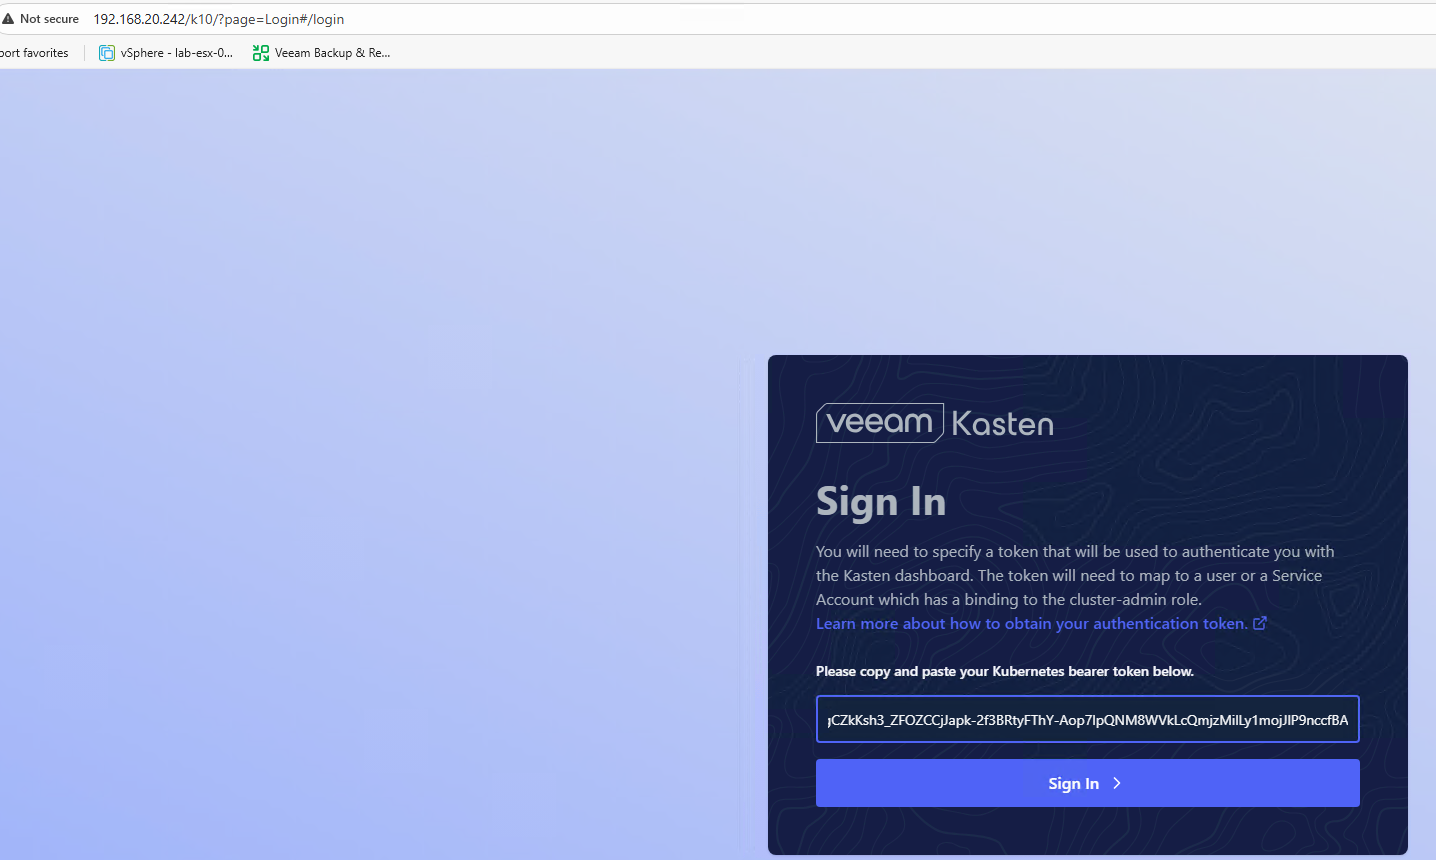
Copy that token and navigate to the Kasten dashboard using the external IP assigned by MetalLB. You’ll be greeted with the login screen where you can paste your token and gain access to the beautiful Kasten UI.
Creating Our First Backup
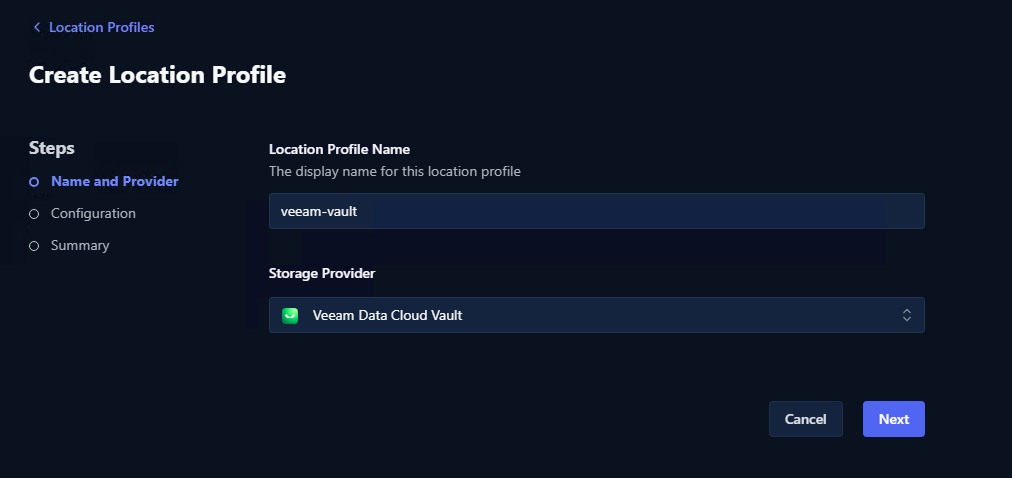
Home stretch! We’re at the final steps. First, we’ll need to create a location profile, otherwise known as a place to store our backups. Just to be a bit fancy, I’ll use Veeam Data Cloud Vault as my location profile, which is now built right into the UI, so it makes it nice and simple.
Setup Location Profile
Navigate to the location profile section and create a new profile:
- Select Location Profile then Create new Profile
- From the dropdown, select Veeam Data Cloud Vault
-
Connect Veeam Vault by following the wizard
- Detailed steps can be found here
-
Select the Vault you created and assign the protection period:
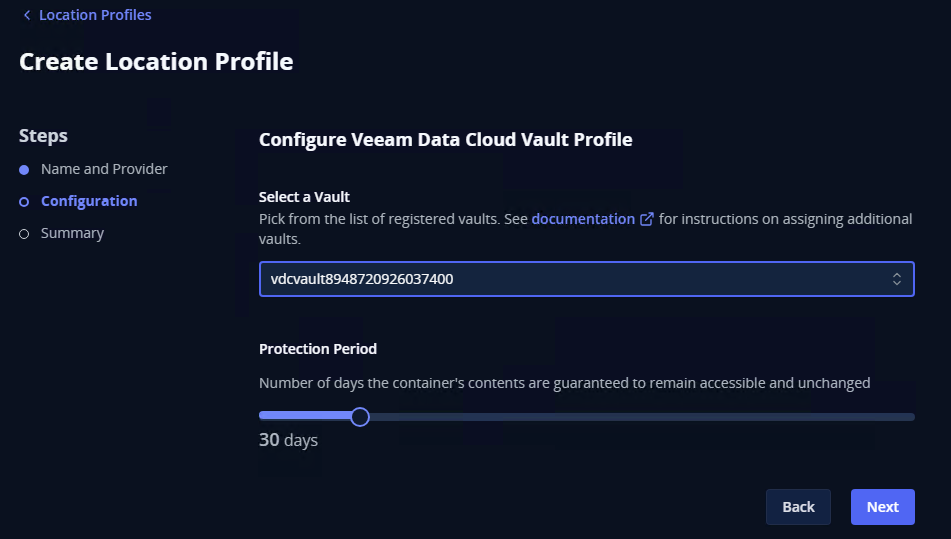
- Confirm the details and hit submit to finalize the creation
Once that’s done, you should have a working location profile that points to your Veeam Data Cloud Vault. This is where all our backup data will be stored securely.
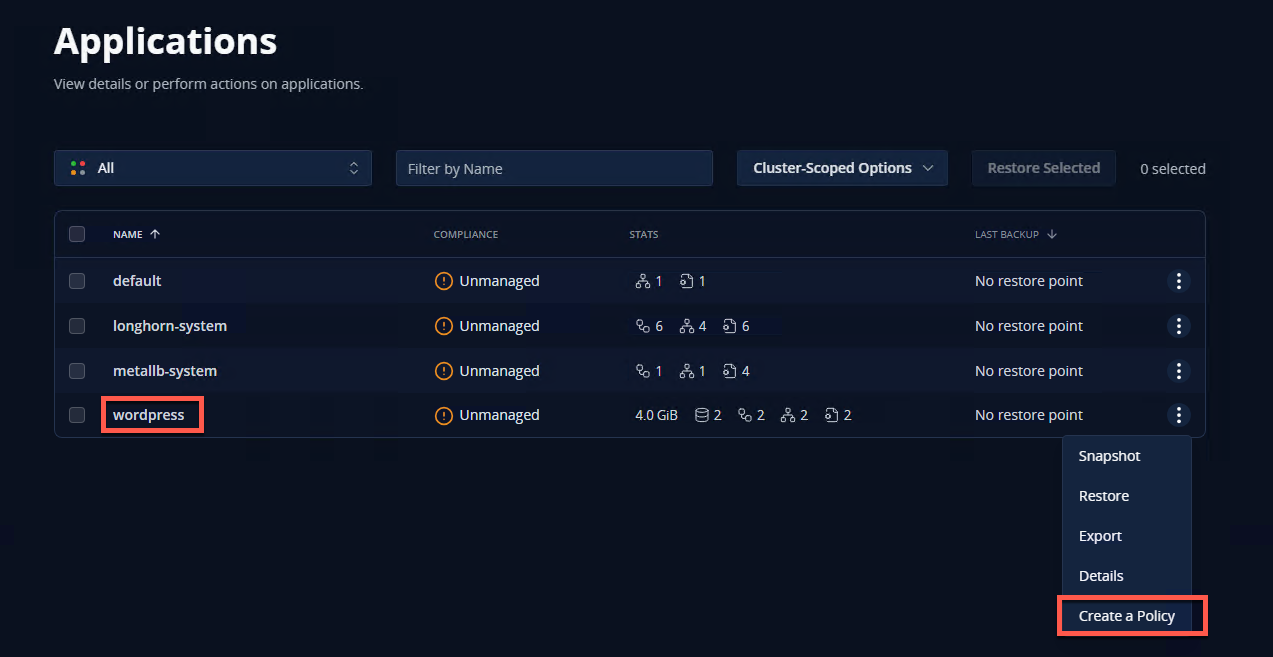
Create Backup Policy
Fantastic! Now that we have somewhere to store our backups, we can create our policy.
- Navigate to Applications
- Select create a policy
This will launch the New Policy Wizard. Follow the bouncing ball, making sure to select “Enable Backups via Snapshot Export” - this is what allows us to export our backups to the location profile we created earlier.
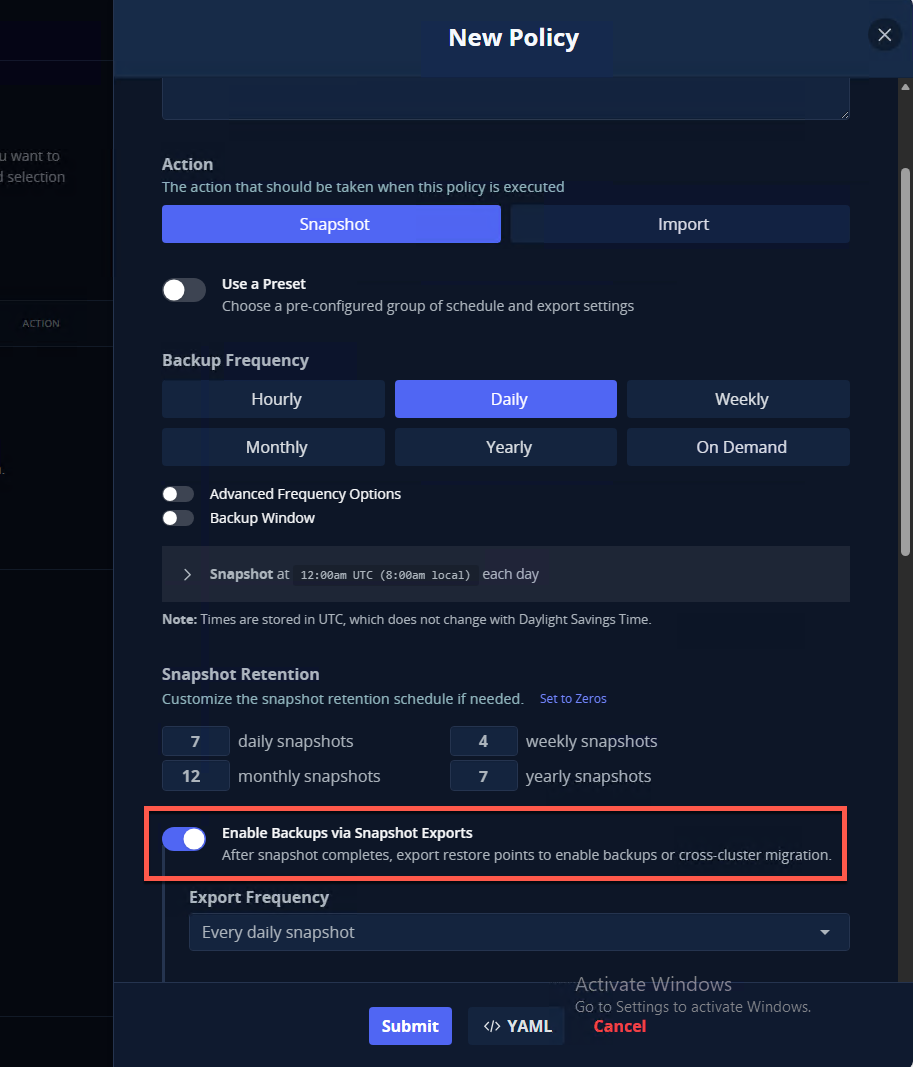
Hit submit, and again, if we did everything correctly, we should see our newly created policy:
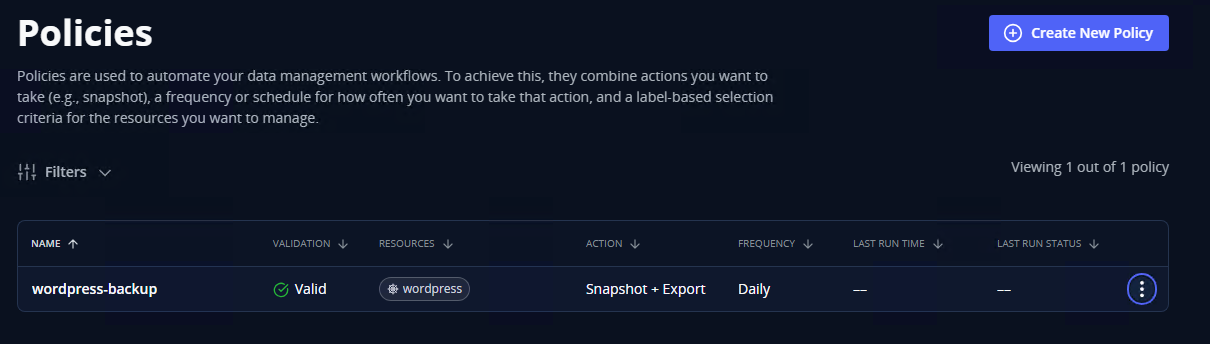
All that’s left to do is run the policy and make sure it all works. You can either wait for the scheduled time or run it manually by clicking the “Run Once” button.

Wrapping Up
And there we have it! Over these four parts, we’ve gone from nothing to a fully functional Kubernetes cluster running real applications with proper backup protection. We’ve built a cluster from scratch, set up proper networking and storage, deployed actual applications, and implemented a solid backup strategy.
More importantly, you now understand how all the pieces fit together - from the container runtime all the way up to application protection. This knowledge is invaluable when things go wrong or when you need to make architectural decisions.
The beauty of having your own homelab cluster is that you can now experiment freely. Want to try different CNI plugins? Go for it. Curious about service meshes? Install one. Need to test a new storage provider? Your cluster is ready. The skills you’ve gained throughout this series are the same skills that matter in production environments, just at a different scale.
Thanks for sticking with me through this entire series. I know it was quite a journey, but I hope you found it valuable. As always, stay curious and keep learning!