Advent Calendar Day 22: SureBackup Part 2 - Advanced Configuration
Advent Calendar Day 22: SureBackup Part 2 - Deep Dive Configuration
Welcome to Day 22 of our Veeam Blog Advent Calendar!
Yesterday we introduced SureBackup with the creation of our virtual labs and application groups. Today we’re going to walk through creating the SureBackup job and understanding what can be done once we have this all setup, how to use it for testing, validation, and even forensic analysis.
Building on the foundation we laid, we’ll explore advanced verification tests, custom PowerShell scripts, and best practices for ensuring your critical systems can actually be recovered when you need them most.
Setup
First step we need to do is create our SureBackup job, which will include our application group we created in the previous section.
- Open the Veeam Backup and Replication Console
- Navigate to the Home Tab
- Right click on Jobs
- Select SureBackup
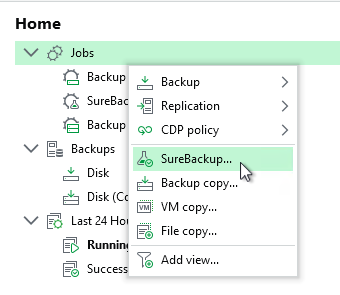
- Select SureBackup
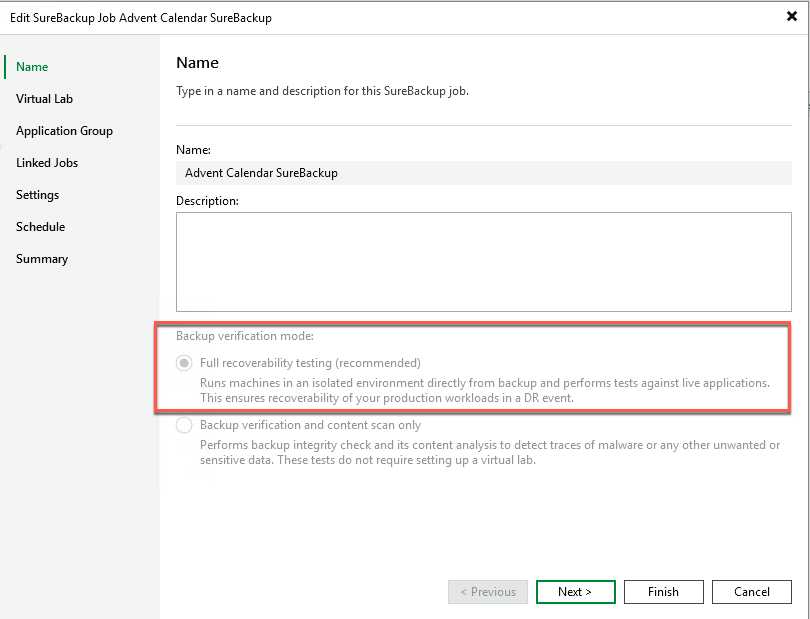
- Give the job a name and select the backup verification mode
- SureBackup can operate in two modes: Full Recoverability (which is what we’re doing here), which basically means we’re spinning up the workload in an isolated environment, running custom scripts against it, and even leaving the workload powered on for custom End User Acceptance testing. Whereas with Backup Verification (or SureBackup Lite, as I like to call it), we’re mounting the backup file from our backup repository, which allows us to scan and verify the backup—this includes malware and content scanning. This lite option doesn’t require the pre-created infrastructure, considering we aren’t actually spinning up the workload.
- SureBackup can operate in two modes: Full Recoverability (which is what we’re doing here), which basically means we’re spinning up the workload in an isolated environment, running custom scripts against it, and even leaving the workload powered on for custom End User Acceptance testing. Whereas with Backup Verification (or SureBackup Lite, as I like to call it), we’re mounting the backup file from our backup repository, which allows us to scan and verify the backup—this includes malware and content scanning. This lite option doesn’t require the pre-created infrastructure, considering we aren’t actually spinning up the workload.
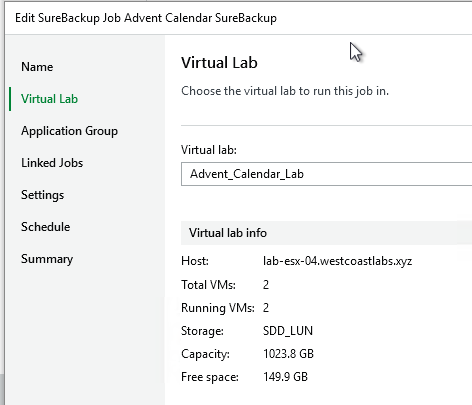
- Select your Virtual Lab you created earlier
- Select your application group
- Enable “Keep application group running after job completes” if you wish to access the workloads post-run. This allows you to connect to those workloads as if they were production workloads, which can be used for multiple reasons—whether it’s End User Acceptance testing or application upgrades. The world is really your oyster here—you can do whatever you want with these workloads in a safe space and just remove them afterwards with no impact to production.
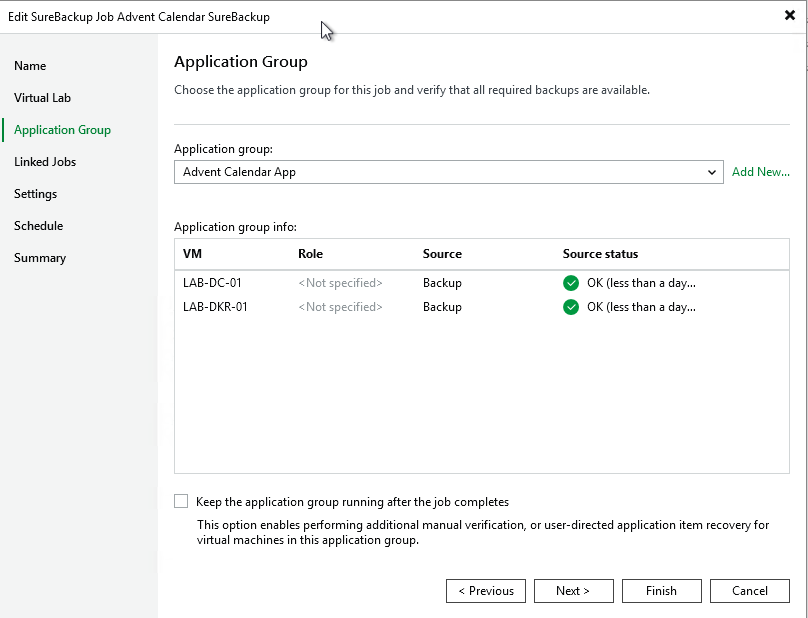
- Enable “Keep application group running after job completes” if you wish to access the workloads post-run. This allows you to connect to those workloads as if they were production workloads, which can be used for multiple reasons—whether it’s End User Acceptance testing or application upgrades. The world is really your oyster here—you can do whatever you want with these workloads in a safe space and just remove them afterwards with no impact to production.
- Link any jobs if you require
- Configure any malware scanning options
- This is where scanning restore points for malware unlocks so much power. Being able to scan the backup content or go threat hunting using YARA rules just opens up so many options for forensic analysis. Think a restore point could be compromised? Why not spin it up in an isolated lab and test it?
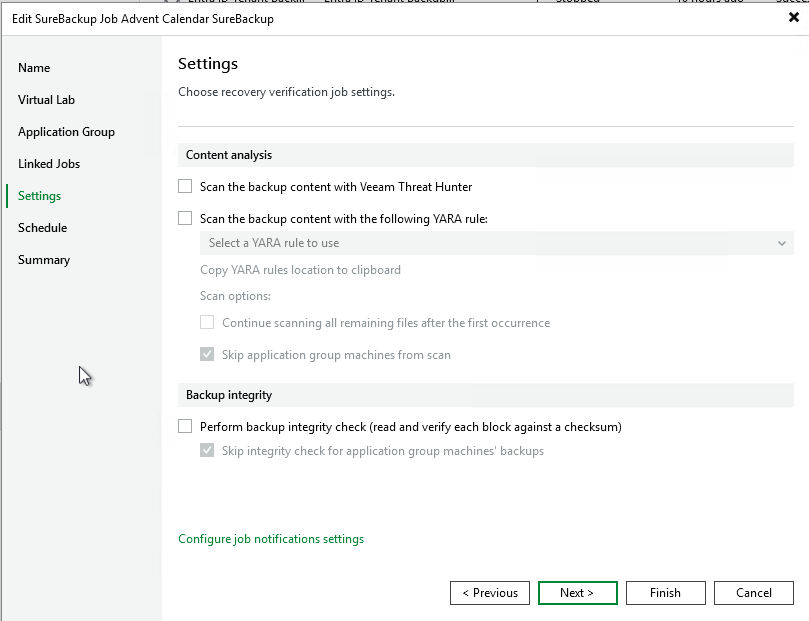
- This is where scanning restore points for malware unlocks so much power. Being able to scan the backup content or go threat hunting using YARA rules just opens up so many options for forensic analysis. Think a restore point could be compromised? Why not spin it up in an isolated lab and test it?
- Schedule the job
- Review the summary and finish
Running the Job
Now that we have the job created and set up the way we want, we can simply run the job.
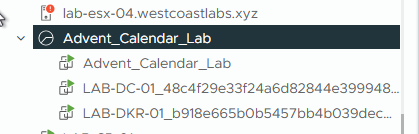
If we look inside vCenter, we can now see that our virtual lab VM powers on (which is connected to our isolated lab network), as well as the workloads within our Application Group starting to spin up.
If we look back at the Veeam Backup and Replication console, we can see that it’s running through the tests, booting up the workloads, and making sure they are accessible.
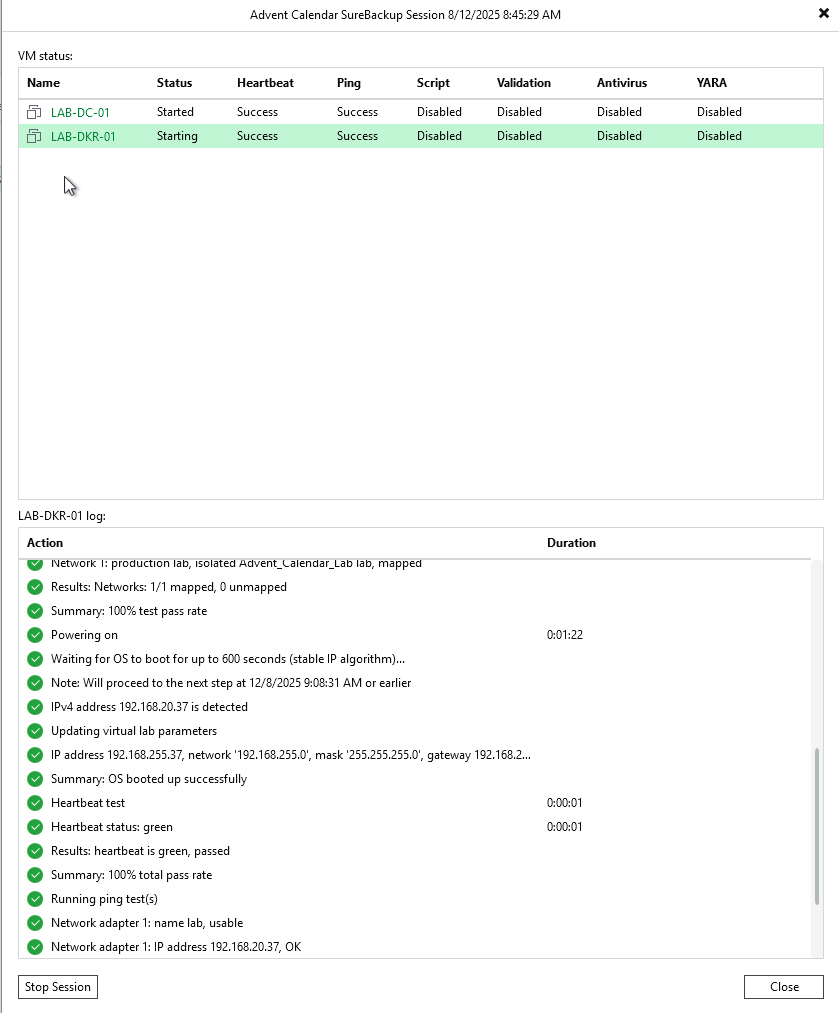
If we enabled “Keep these workloads running” when creating the job, these workloads would stay powered on until you manually stop the session.
Wrapping Up
And there you have it, a complete SureBackup implementation from start to finish! Over these two days, we’ve built the infrastructure, configured the verification tests, and created an automated system that continuously validates your disaster recovery readiness.
SureBackup isn’t just backup verification, it’s disaster recovery readiness validation. You’re continuously proving you can recover critical systems. When disaster strikes, you won’t be hoping your backups work. You’ll know they do because SureBackup has been proving it automatically, day after day.
But it doesn’t stop there. As we’ve seen, you can use this isolated environment for End User Acceptance testing, application upgrades, forensic analysis, or threat hunting with YARA rules. It’s a sandbox for safely testing changes, investigating potential compromises, or validating patches before rolling them out to production.
Yes, the initial setup takes effort, we’ve spent two days on it, but the ongoing confidence and automated verification are invaluable. Start simple with basic ping and heartbeat tests, then expand gradually with custom PowerShell scripts and verification tests to match your environment. Your future self (during a disaster recovery scenario) will thank you.
SureBackup is genuinely one of Veeam’s most powerful features, and now you have everything you need to implement it in your environment.
See you tomorrow for Day 23! 🎄
Test often, recover confidently! 🎁