Advent Calendar Day 14: SAML Authentication - Modern Identity for VBR
Advent Calendar Day 14: SAML Authentication Arrives in V13
Welcome to Day 14 of our Veeam Blog Advent Calendar! Today we’re talking about a feature that’s been on many wish lists for years and finally arrived in Veeam Backup & Replication V13: SAML authentication.
For those of us managing enterprise environments with modern identity providers, this is a game-changer. Let’s dive into why this matters and how to set it up.
Grab your coffee, let’s get into it!
What Is SAML and Why Does It Matter?
SAML (Security Assertion Markup Language) is the enterprise standard for single sign-on (SSO). It allows users to authenticate once with their identity provider (like Entra ID, Okta, or ADFS) and access multiple applications without entering credentials repeatedly.
Before V13, Veeam relied on Windows authentication or basic auth. This worked, but it meant:
- No SSO experience for the web console
- Limited integration with modern identity platforms
- Harder to enforce MFA consistently
- More credential management overhead
With SAML support in V13, all that changes. Your users can now authenticate to Veeam using your existing identity provider, complete with MFA, conditional access policies, and centralized user management.
Setting Up SAML with Entra ID
Let me walk you through the setup process using Entra ID as the identity provider:
Step 1: Register Veeam in Entra ID
- Log into Entra ID
- Navigate to Enterprise Applications
- Create New

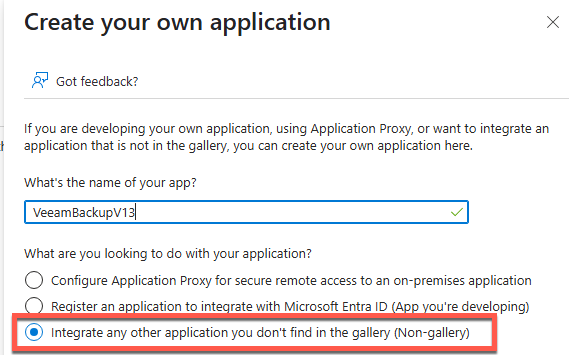
- Select “Create your own application”
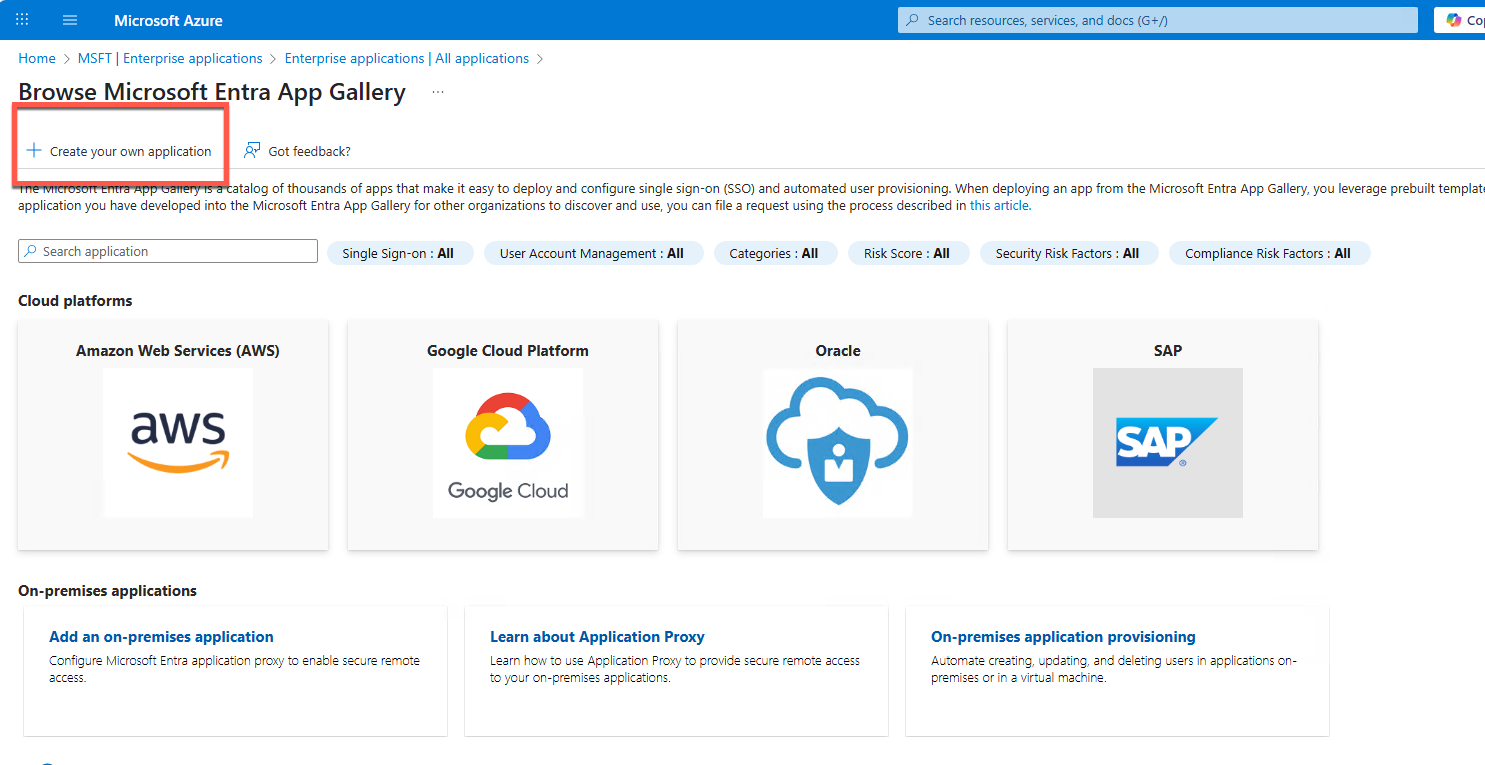
- Give your application a name and make sure to select “non-Gallery”
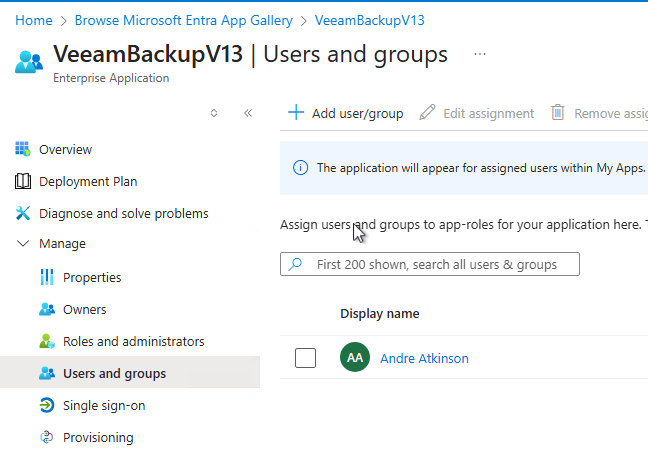
- Assign “Users and Groups”
- In my case I’ll just assign my admin accountt

- Next go to Single Sign-on
- Select SAML
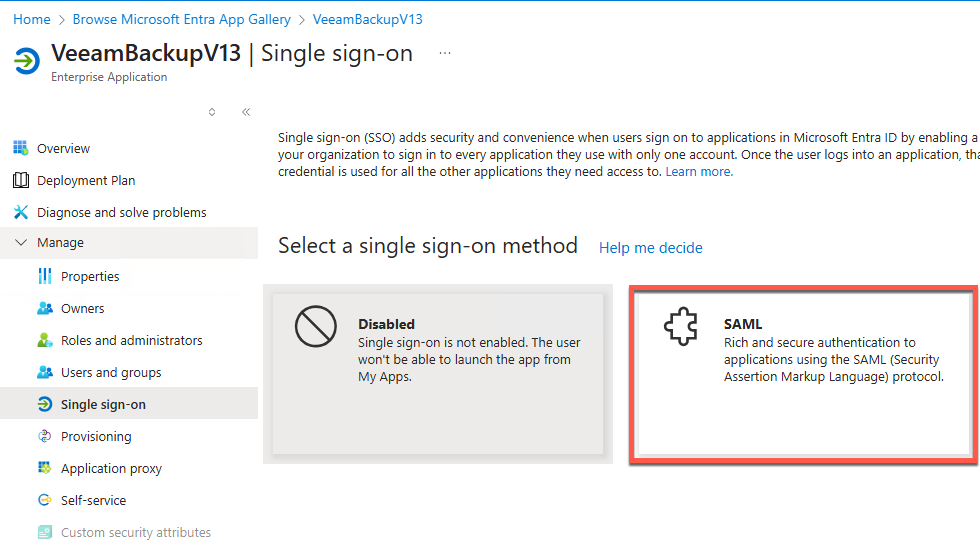
- Stop here as we need to do some config on the VBR first.
Step 2: Configure VBR
- Open the VBR console
- Navigate to Users and Roles

-
Navigate to the Identity Provider tab
- Enable SAML
- Configure a valid certificate
-
Download the XML file which contains all the required information
Step 3: Back to Entra ID
Now that we have the XML file from Veeam with the required settings and certificate configured we can import it
- Select “Upload Metadata File”
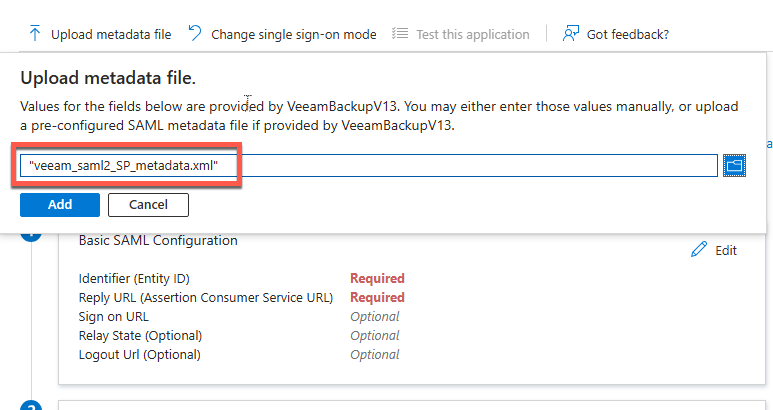
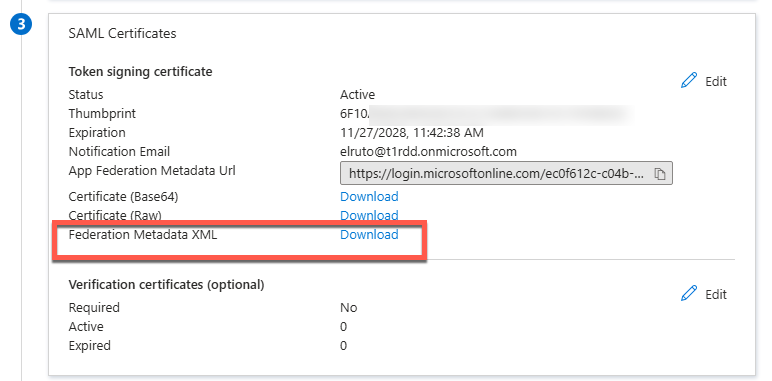
- Once the upload completes
- Download the Federation Metadata under SAML Certificate
Step 4: Back to VBR
Last time we switch back and forth I promise!
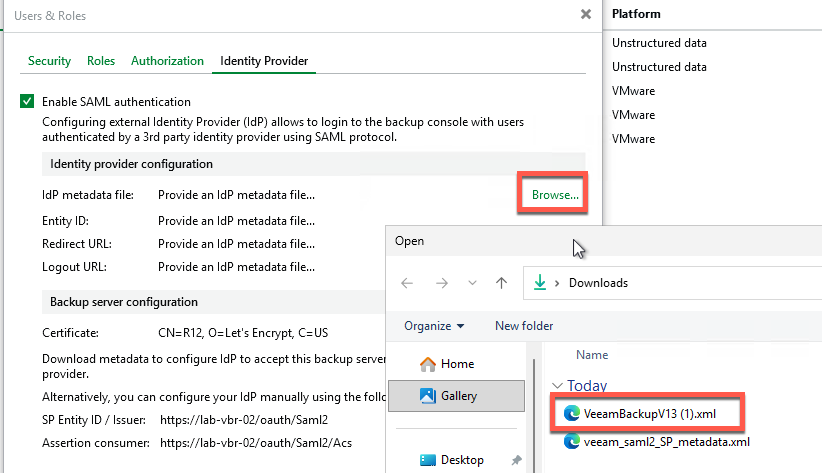
- On the Identity Provider tab
- Select Browse
- Import the Federation Metadata XML you exported from Entra ID
After you configure SAML authentication, you can add external users or groups to Veeam Backup & Replication and assign roles to them. To do this, perform the following steps:
- From the main menu, select Users and Roles.
- In the User and Roles window, select the Security tab.
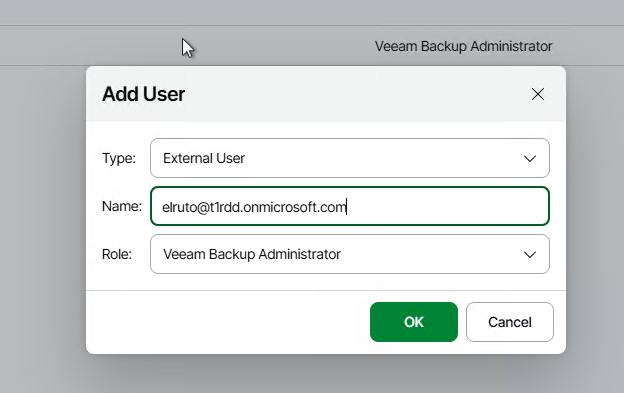
- Click Add > External user or group.
- From the Type drop-down list, select User or Group.
- In the Name field, enter the group name or user name in the UPN format, for example, [email protected].
- From the Role drop-down list, select the role that you want to assign to this user or group.
- Click OK.
- In the User and Roles window, select the Security tab.
Now we test and we can see we are successfully logged in with our Entra ID account and had to follow the MFA process and everything else that SAML Auth and Entra ID enforcess
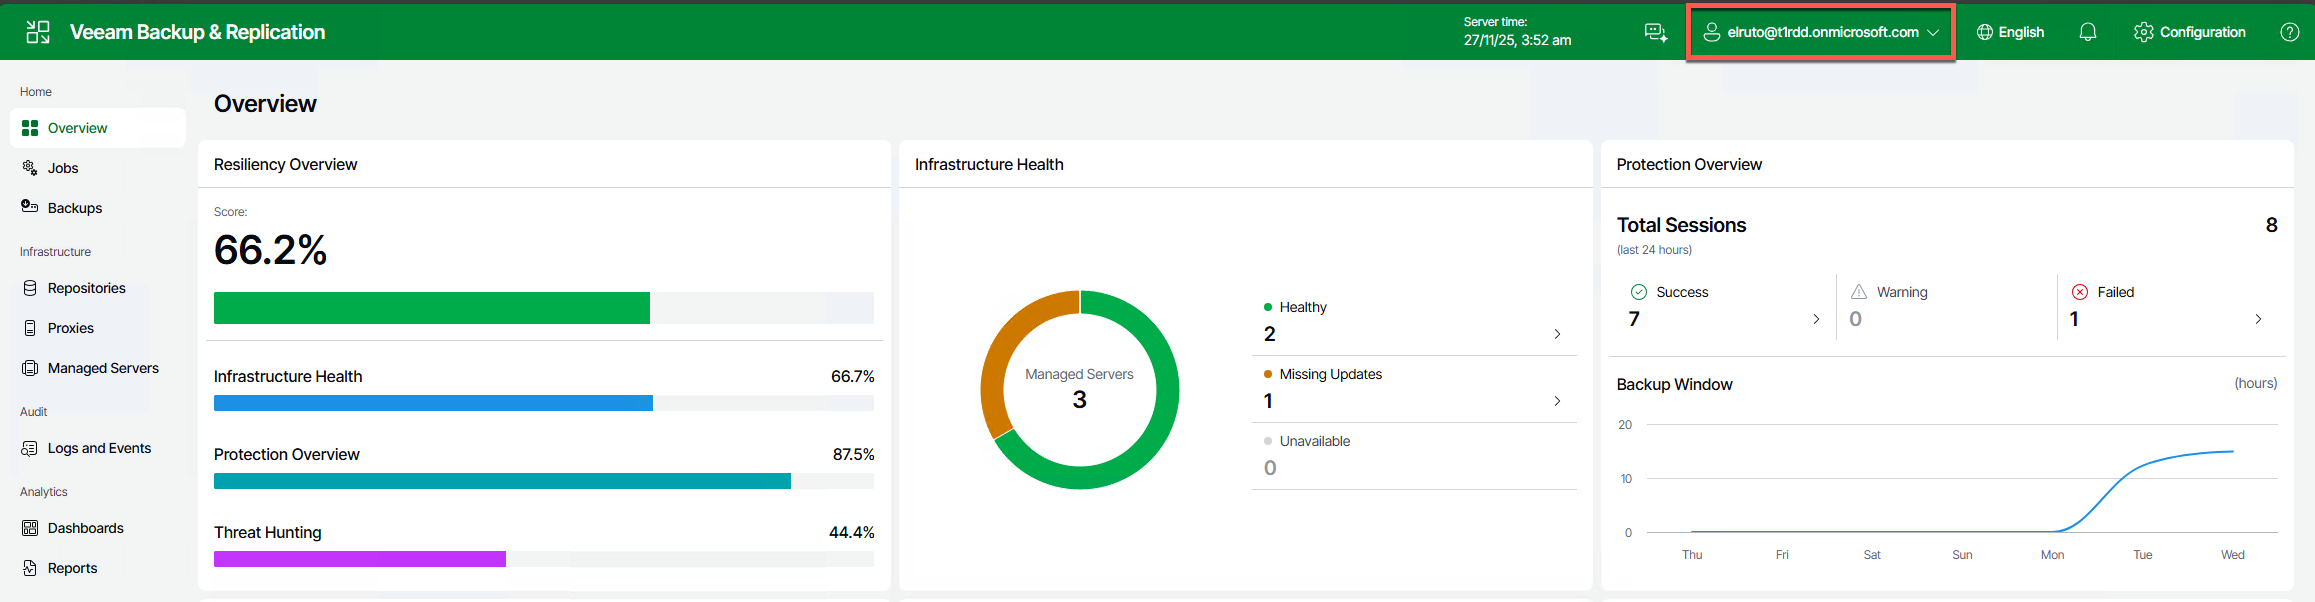
And that’s it! :) You now have SAML setup for your backup environment using Entra ID (yes it really was 3am when I did this )
Looking Ahead
Tomorrow on Day 15, we’re diving into another V13 feature that makes managing your Veeam environment easier.
Wrapping Up
If you’re running V13 and using a modern identity provider, set up SAML authentication. The initial setup takes maybe an hour, and the payoff in terms of security, manageability, and user experience is absolutely worth it.
Your security team will love the centralized control. Your users will love the SSO experience. And you’ll love not having to manage separate credentials.
See you tomorrow for Day 15! 🎄
Stay curious, stay secure, and as always, happy backing up! 🎁