Deploy Kasten Airgapped
Introduction
Deploying Kasten K10 in an airgapped environment can seem daunting at first, but thanks to the excellent official documentation from Veeam, it’s more straightforward than you might think.
For context, here’s my setup:
- Kubernetes 1.33 on Ubuntu, installed via Kubeadm (yes, I like living on the edge!).
- Single control plane node and one worker node.
- Running services include MetalLB for LoadBalancing, Nginx for Ingress, and LongHorn as the CSI driver.
I also have a separate Docker host with internet access that we’ll use as a staging server. This host can communicate with my Harbor registry, while the Kubernetes nodes can only reach the registry, not the internet.
With the scene set, let’s dive into the actual deployment process.
Deployment Process Overview
Step 1: Download the Helm Chart
- First, we need the Kasten Helm chart. On a machine with internet access:
helm repo add kasten https://charts.kasten.io/
helm repo update && \
    helm fetch kasten/k10
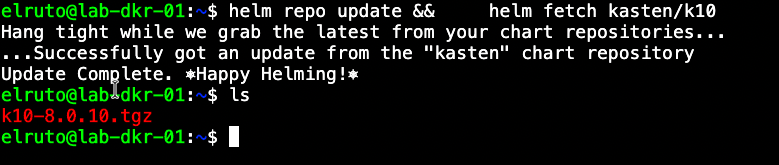
This produces a .tgz Helm chart archive that we’ll use for the airgapped installation.
Step 2: Stage Images in Harbor
Next, we need to make all Kasten container images available in our local Harbor registry. On the Docker host:
docker run --rm gcr.io/kasten-images/k10tools:8.0.10 image list # this checks all the images in the repo
docker run --rm -v $HOME/.docker:/home/kio/.docker gcr.io/kasten-images/k10tools:8.0.10 image copy --dst-registry harbor.westcoastlabs.xyz/kasten --dst-registry-insecure
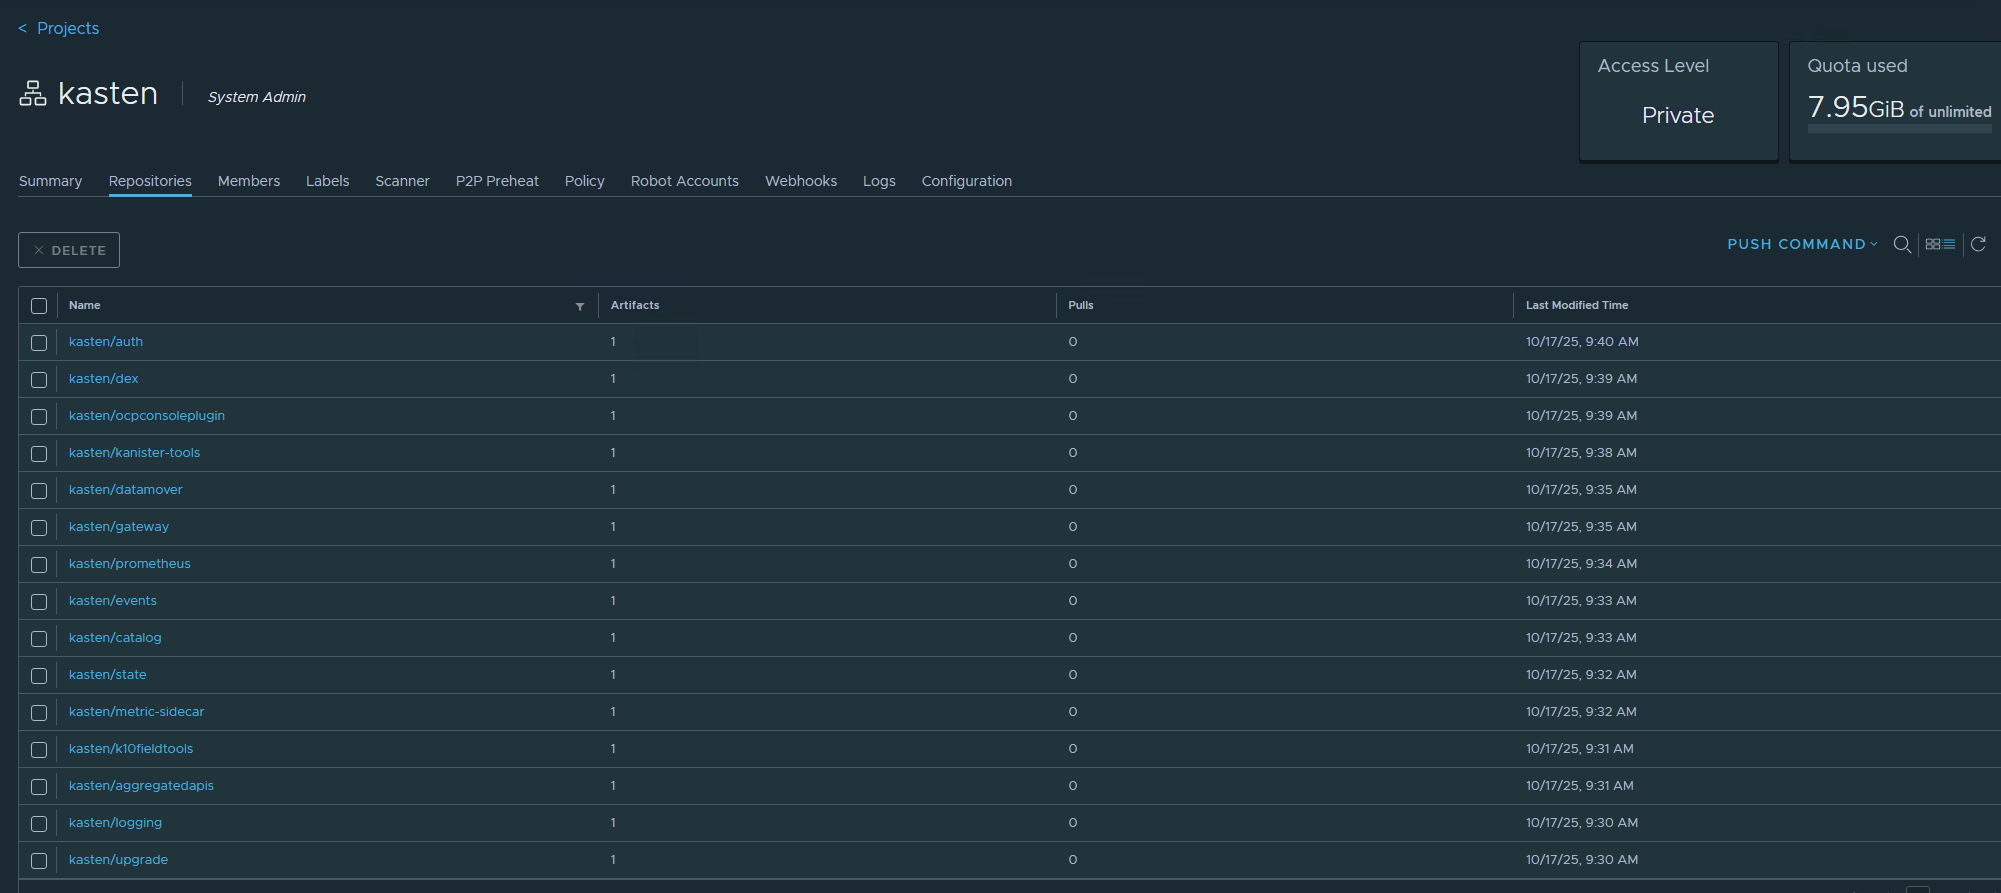
This pulls all necessary images from Kasten’s remote repository and pushes them to our local Harbor registry.
Step 3: Transfer the Helm Chart to Kubernetes
Copy the downloaded Helm chart (k10-8.0.10.tgz) to your control plane node. You could alternatively push it to Harbor, but a simple file transfer works fine for most setups.
At this point, we have both the images and Helm chart staged locally—ready for deployment.
Step 4: Deploy Kasten K10
Deploying Kasten is surprisingly simple. First, create the namespace:
kubectl create namespace kasten-io
helm upgrade k10 k10-8.0.10.tgz --namespace kasten-io \
    --set global.airgapped.repository=harbor.westcoastlabs.xyz/kasten \
    --set metering.mode=airgap \
    --set ingress.create=true \
    --set auth.tokenAuth.enabled=true \
    --set ingress.class=nginx \
    --set eula.accept=true \
    --set eula.company='Company' \
    --set eula.email='[email protected]'

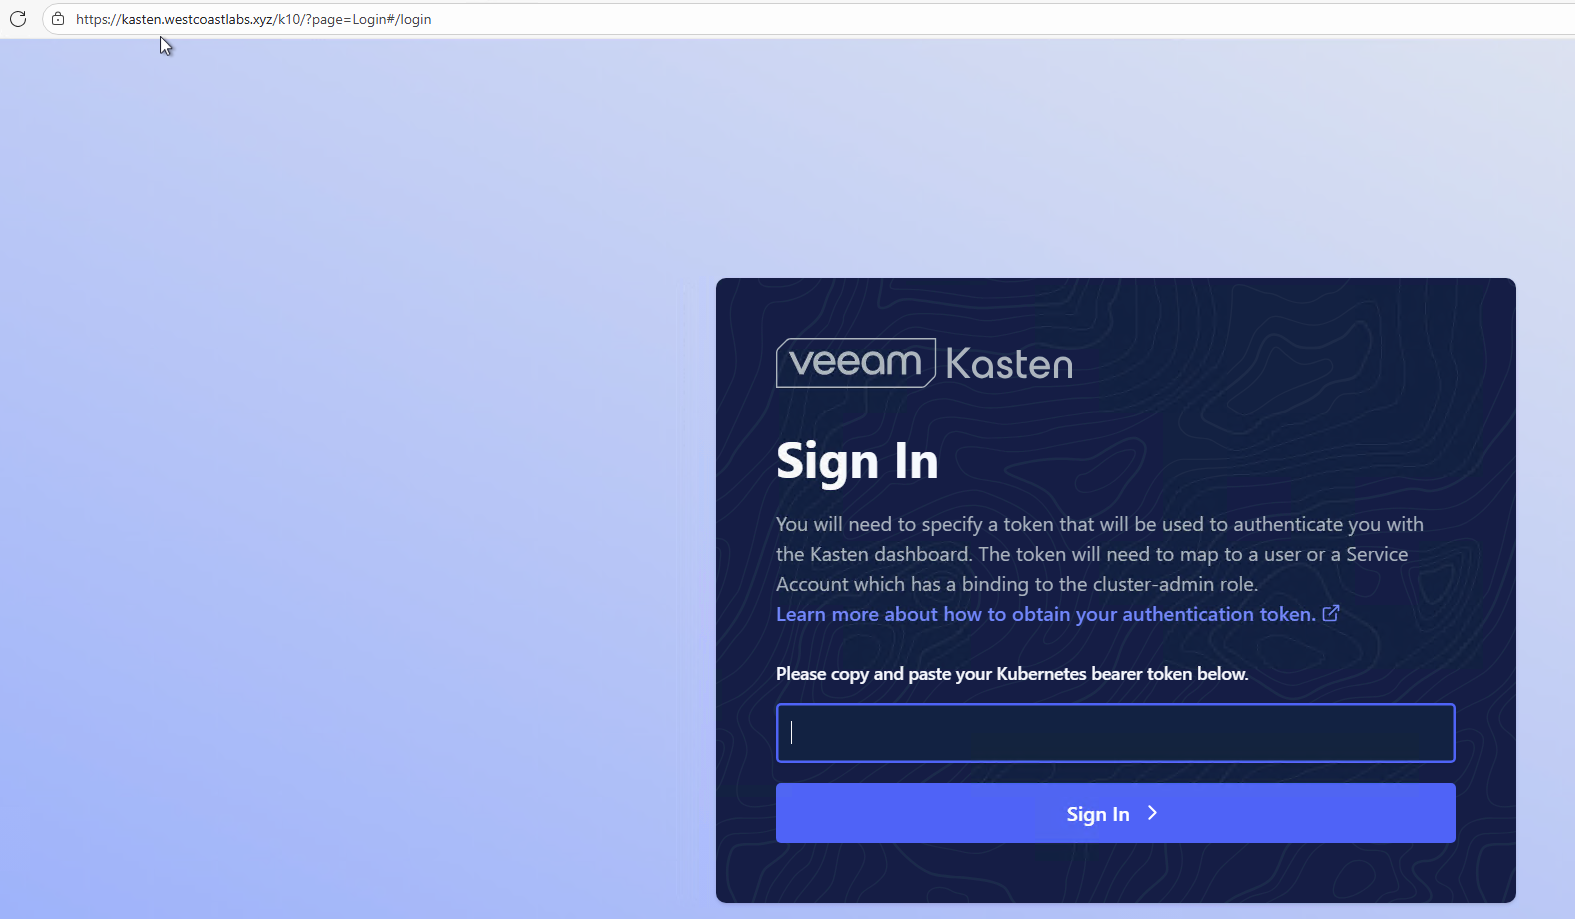
After a few minutes, literally 2 minutes in my case, the deployment completes, and you should see a successful login screen:
Conclusion
This was really a fun exercise to lab up and i enjoyed getting stuck into Kubernetes again and it just really goes to show how easy it is to get Kasten working even in secure, airgapped environments.
Thanks for reading, I hope you found this guide helpful. As always, stay curious and keep learning!