Veeam for OLVM - Part1
// Table of Contents
Veeam just announced something pretty awesome: their new Hypervisor integration, OLVM (Oracle Linux Virtual Manager). It’s got people buzzing because it’s not just about what it can do now, but the potential it holds for the future. Think opening up doors to support other KVM distributions down the line – pretty neat, huh?
Introduction
Today, we’ll be setting up our lab environment to explore OLVM. We have a nested OLVM server ready for deployment, and we’ll guide you through the setup process, demonstrating its configuration and capabilities. Get ready for a hands-on experience with Veeam’s integration with OLVM.
Requirements
We will need 2 Oracle Linux VMs for this deployment, 1 acting as the Virtual Machine Manager and 1 being our KVM hosts. as i am doing this in a lab ill keep my deployment small for testing purposes
| Name | Description | CPU | Memory | IP |
|---|---|---|---|---|
| OLVM | Manager | 2 | 4 | 192.168.20.50 |
| KVM1 | KVM Host | 2 | 4 | 192.168.20.51 |
Process
Configure Manager
- Download and Install Oracle Linux:
- Download the ISO for Oracle Linux 8.8 (or later).
- Deploy 2 hosts as mentioned above using the Minimal Base Environment. Avoid installing any additional packages until after installing the Manager packages to prevent dependency issues.
The next few commands we will run on the Manager server
- Enable Repositories and Install Packages:
- Run the following commands on the Manager server:
dnf config-manager --enable ol8_baseos_latest
dnf install oracle-ovirt-release-45-el8
dnf clean all
dnf repolist
# If your host is running UEK R7, Install the Extra kernel modules package
dnf install kernel-uek-modules-extra
- Once you have completed the above successfully, reboot the host.
***Repeat the above steps on the KVM host, make sure to stop here on the KVM host as we do not need to enable the ovirt-engine on every single host. ***
- On the Manager server, run:
engine-setup
# You can also run the below to just accept all the defaults
(OPTIONAL)engine-setup --accept-defaults- Answer the questions based on your environment and verify the output
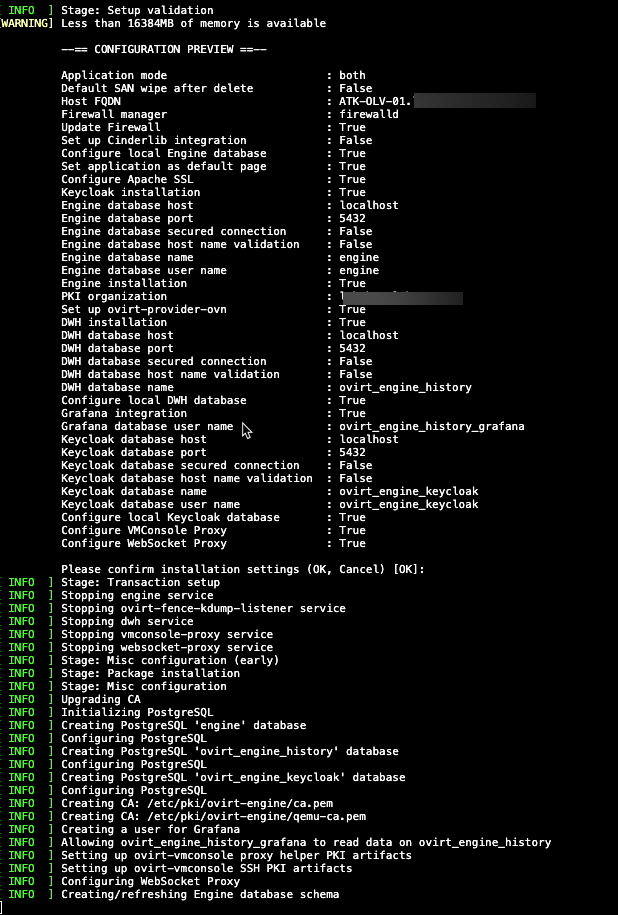
- Verify Configuration:
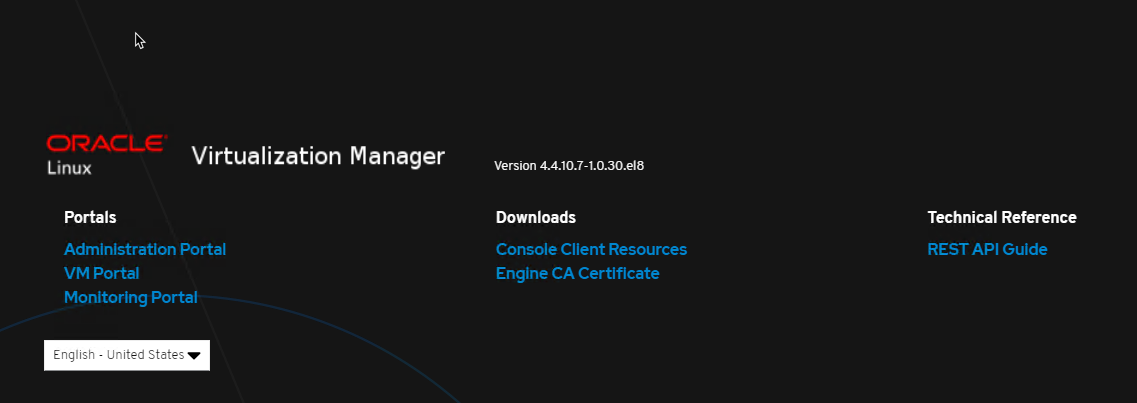
- Log in to the Administration Portal at https://FQDN/ovirt-engine/.
- Ensure that the configuration was successful.
Add KVM Host
- Log in tohe admin portal
- Navigate to Compute -> Hosts
- Click New

- Configure Host
- Provide Name, Hostname, and any additional options.
- Click “OK”
Once the host has successfully been added you will see it listed under compute -> hosts

Add Storage
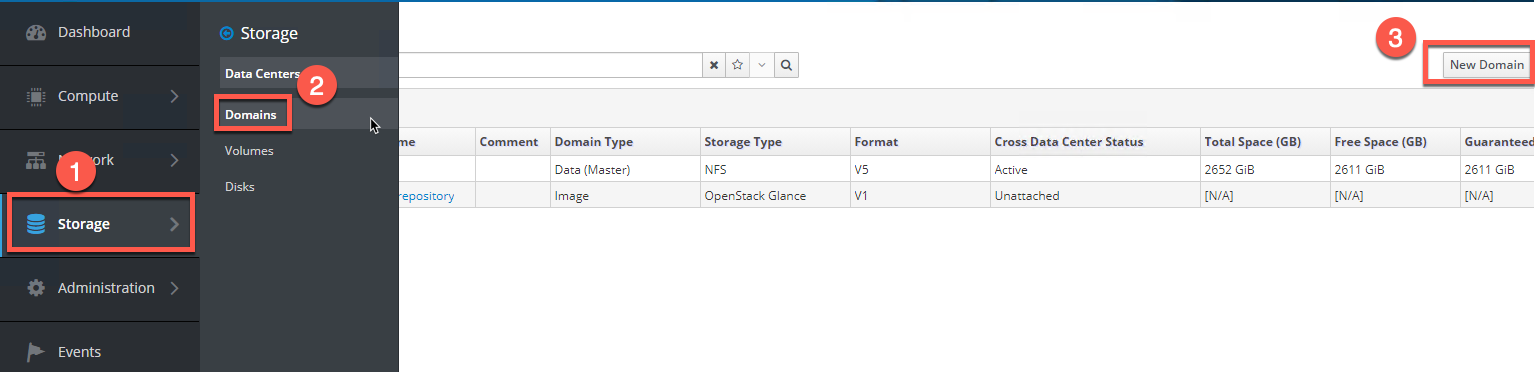
Next we need to add some storage for our VMs
- Navigate to Storage
- Domains Node
- Click New Domain
- Add the required storage. For simplicity in our lab setup, we’ll use NFS.
Create a VM
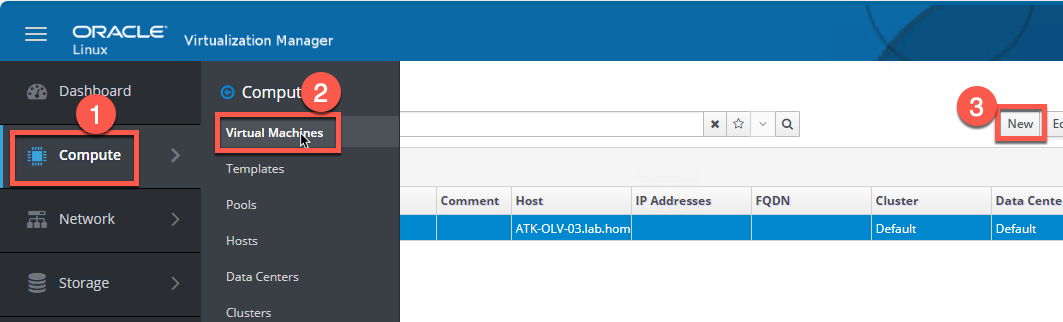
- Navigate to Virtual Machines:
- Go to Compute -> Virtual Machines.
- Click “New” and follow the wizard to deploy a VM.
With these configurations in place, we’re now ready to integrate Veeam, which we’ll cover in Part 2.
Stay tuned for Part 2 where we’ll delve into integrating Veeam with OLVM and explore its functionalities further.
I hope this helpful and as always, keep on learning!