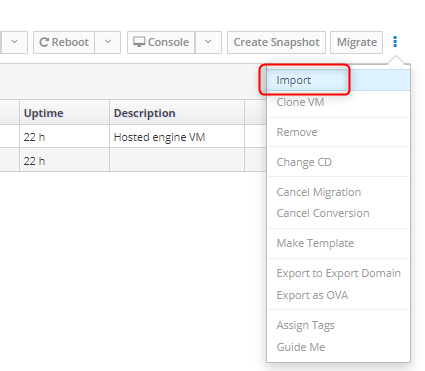
Finally, we have made it all the way to here through a bit of trial and error but we are here none the less so lets gear up, grab a coffee and lets get to deploying some Veeam Backups.
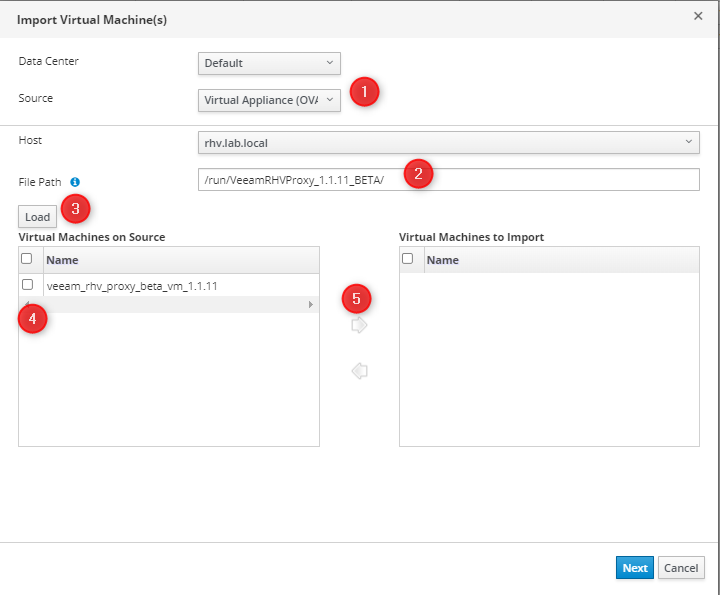
Click load, this will do a scan of the directory and should now show your OVA file.
Move it across to the right so its ready to import.
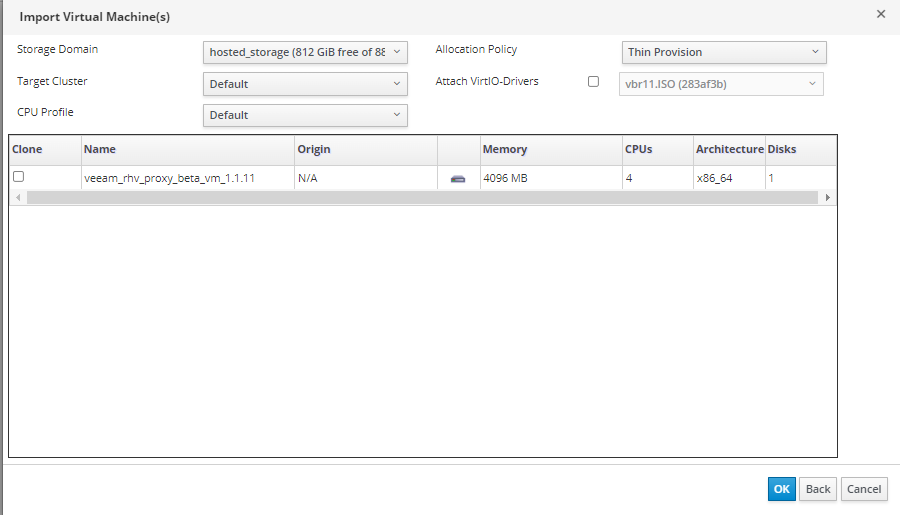
* Next, leave the options as default and click ok.
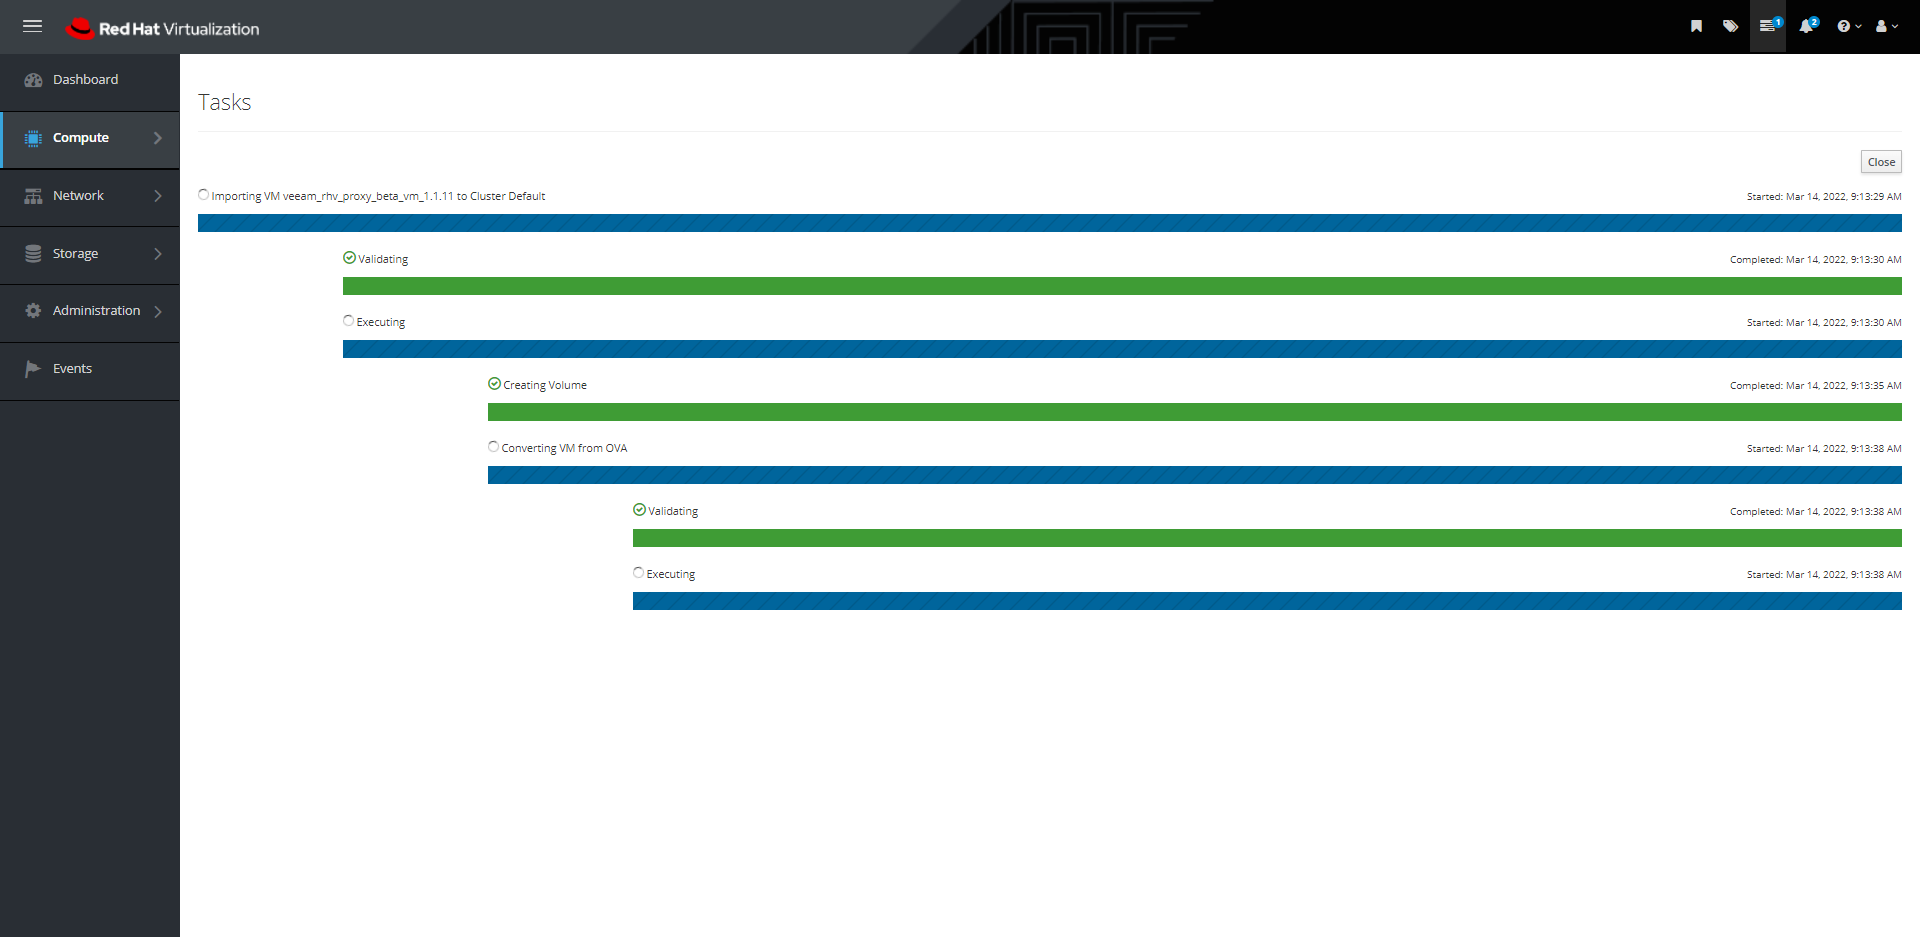
The import process will now start, you can see the progress under Tasks.
Go make a cup of coffee ( I really enjoy my coffee 🙂 )
Once this has finished you will have the VBR proxy in a powered off state listed under compute > Virtual Machines.
select the VM and run it.
This will boot the VM and assign a DHCP address to it.
Now that server has booted, open a console window to the server and note down the IP address.
Open up a browser tab and navigate to the web console.
At the welcome screen, enter the default credentials: login veeam, password veeam
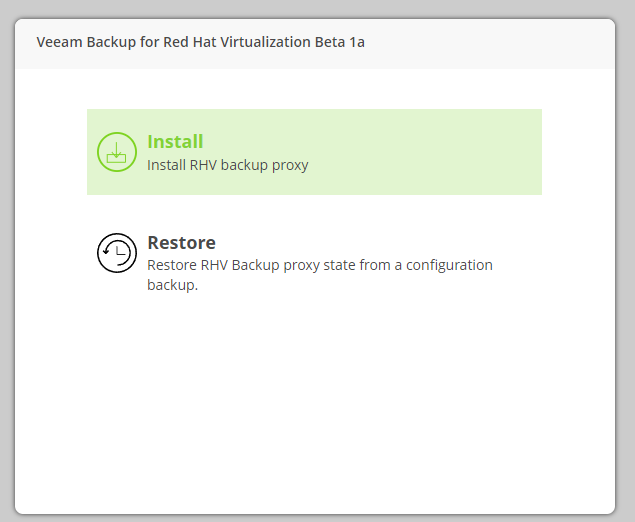
Select install
Agree to the license terms
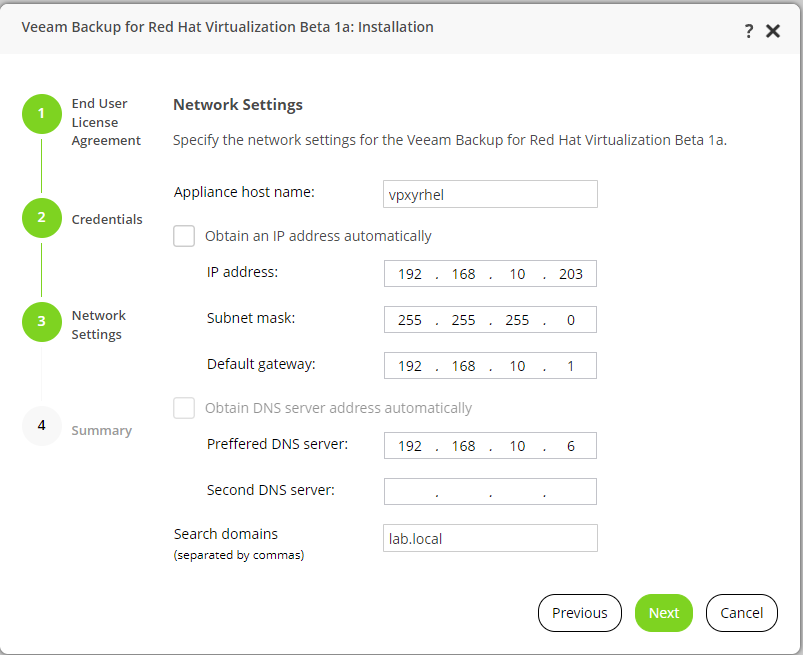
Change the password and configure the networks settings to suit your environment.
Confirm the summary page and click finish.
Give that a minute and you should be redirected to the new IP address, If not just open up a new browser tab and browse to the IP you set.
You will see a login screen again, log in with the username veeam and the password you set.
This will redirect you to the Veeam for RHV console.
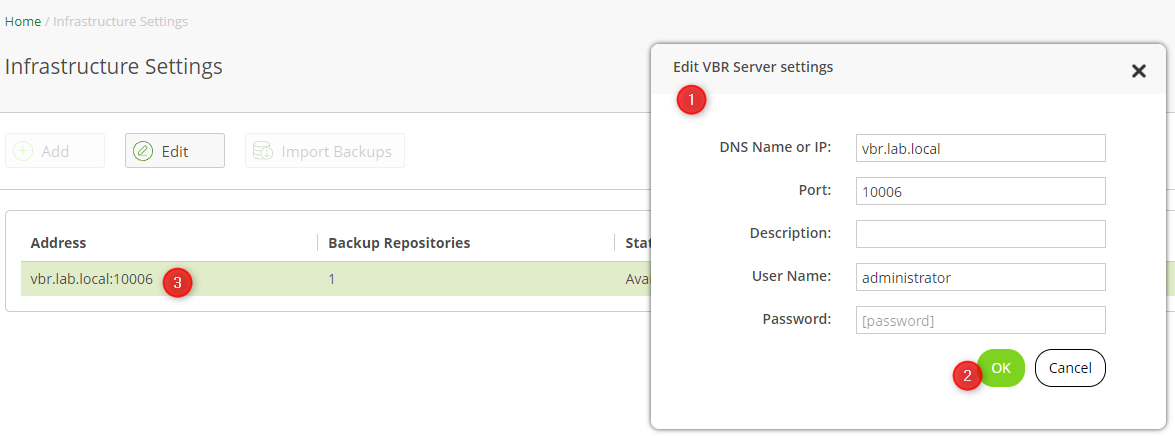
Click on the gear wheel in the top right hand corner and select “Manage Backup Server“.
click Add and fill in the details for your VBR server.
Select “Manage Virtualization Manager”.
Click Add and fill in the details for your oVirt server.
Accept the certificate warning.
Select “Appliance Settings”
Navigate through the tabs and confirm you are happy with the settings
Complete any outstanding updates.
This will reboot the appliance.
Once that is all completed, navigate back to the dashboard and it should all be beautiful Veeam green.
Next up we can create our jobs.
Navigate to jobs on the top bar.
Under general settings provide the Backup job with a name.
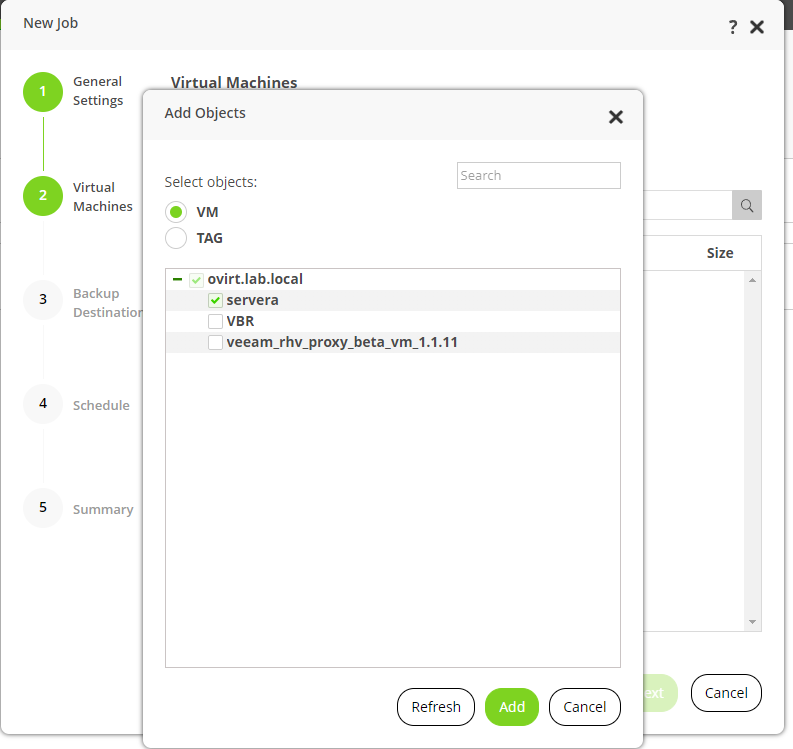
Select the VMs you would like to add to the job.
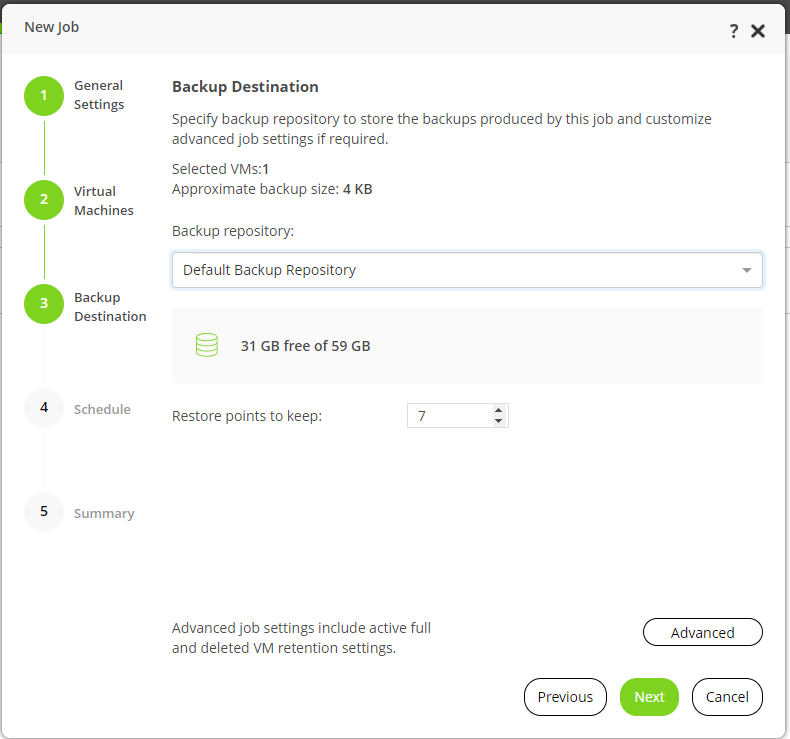
Select your repository and define your retention period.
Configure your schedule.
confirm the summary page and finish the job creation wizard.
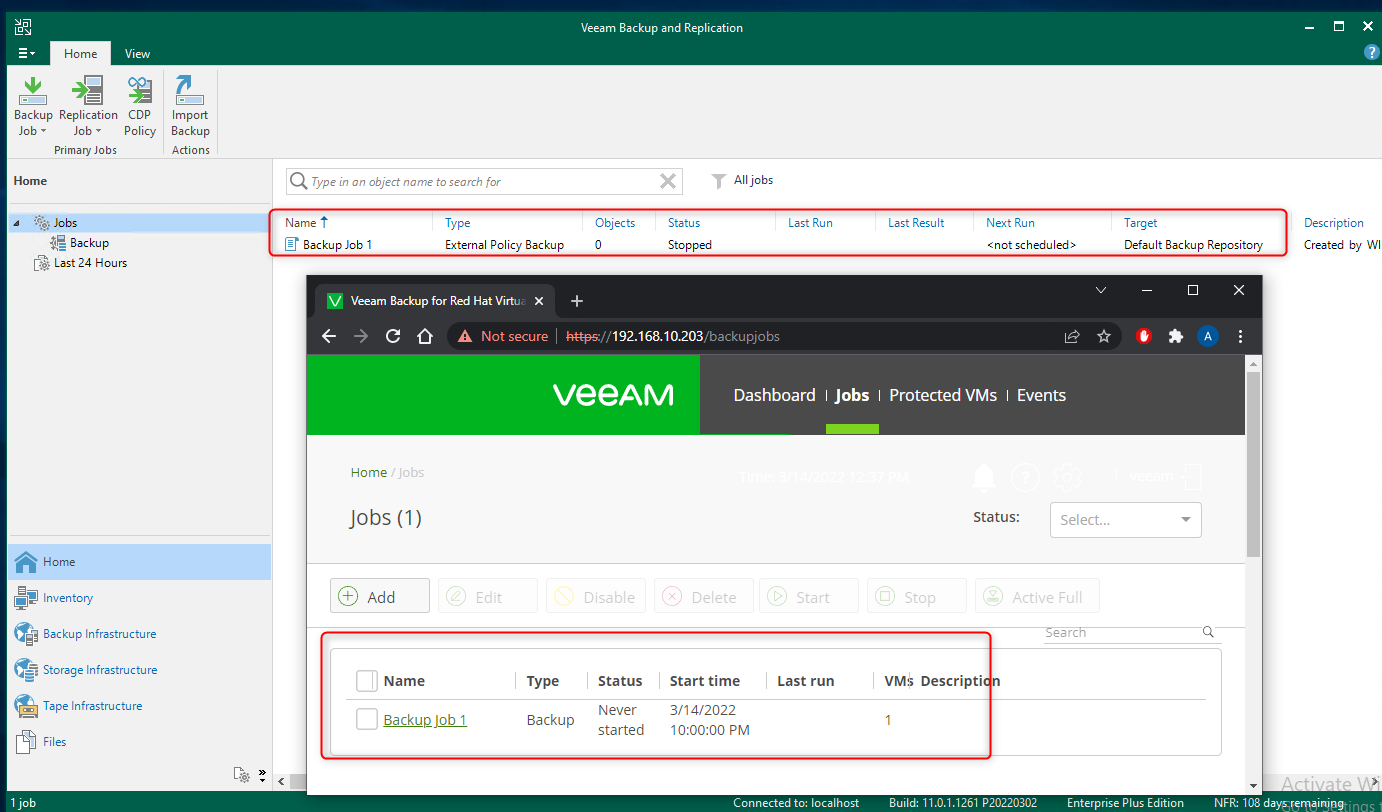
You should now have the job listed under Jobs.
This should also be visible in your VBR console.
That’s it, we now have Veeam for RHV successfully up and running and with that, we conclude this blog series. Thank you for joining me on this epic learning curve to explore the latest that Veeam has to offer.
I hope this has been informative and has always, Keep on learning.