Deploying vCenter 7 to my HomeLab
I have been running a VMware HomeLab for quite some time now and considering I rebuild my lab often I decided its probably time to re-deploy my VMware home lab using vCenter 7. I’ve held off for a while due to hardware constraints but the time as finally come…
The install process is a two step deployment.
- Stage 1 – The OVA deployment.
- This step deploys the actual OVA where you can define the deployment type and settings.
- Stage 2 – VCSA Setup.
- This steps allows us to configure the appliance and apply our preferred configuration.
Right so lets jump straight into the action and get vCenter 7 deployed.
- We start this off by downloading the latest ISO which in my case is V7.0U1c.
- Mount the ISO to a windows server.
- We will be deploying vCenter using the GUI however you can do this via CLI if you prefer.
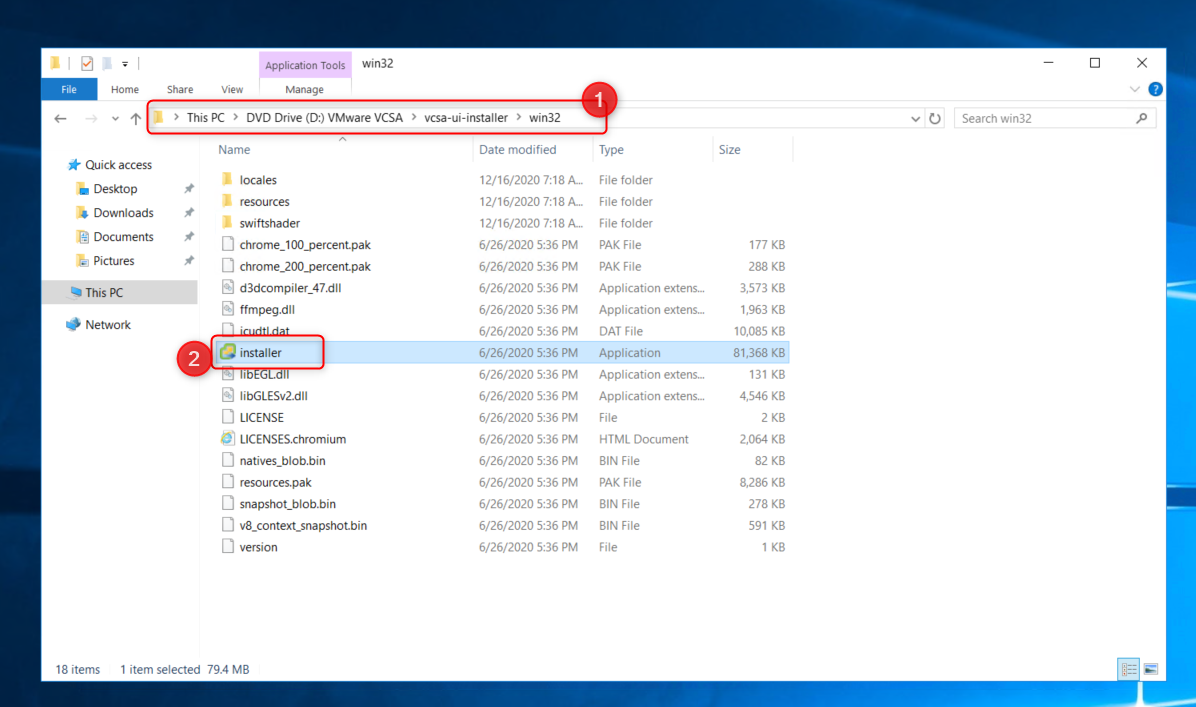
- Open the ISO.
- Navigate to the vcs-ui-installer -> Win32.
- Run the installer.exe.
- Select Install as this is a fresh deployment.
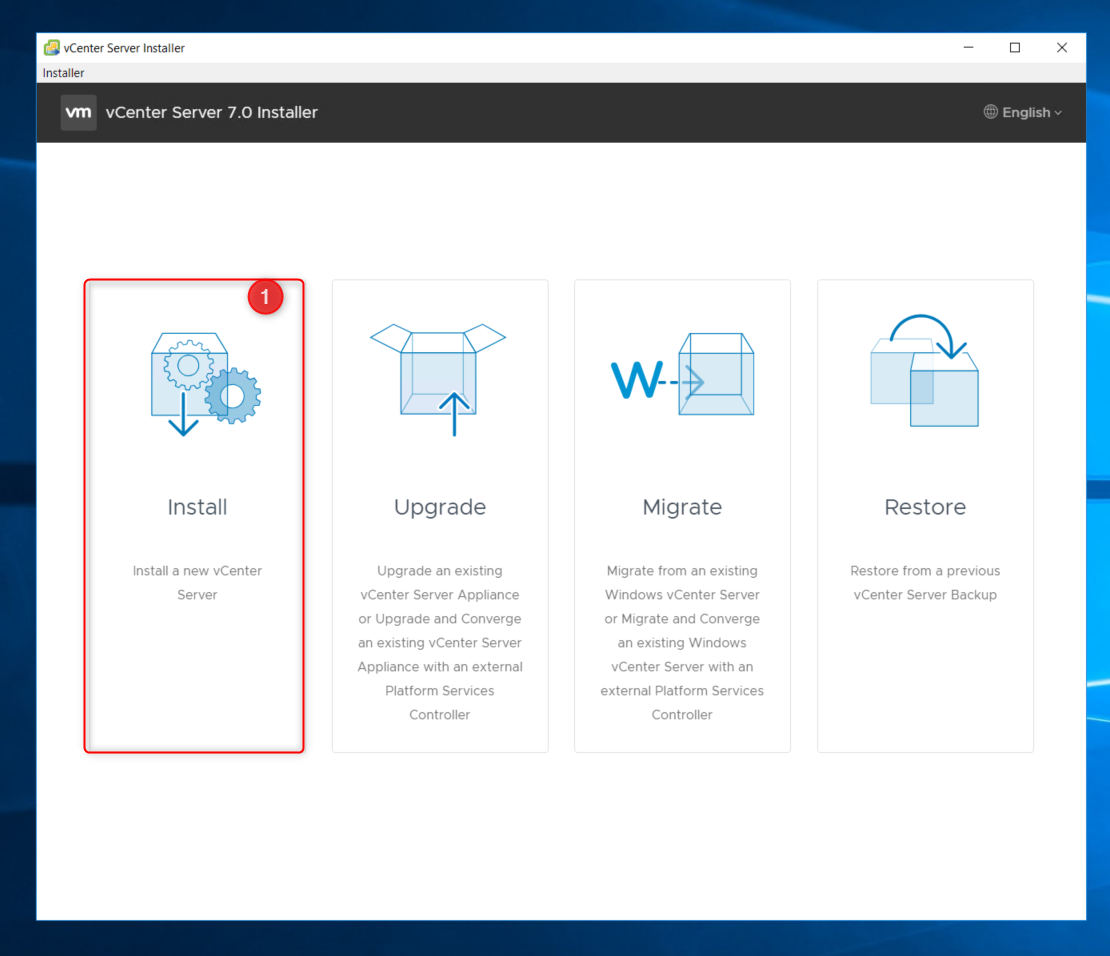
- Click Next on the introduction page.
- Accept the End User License Agreement.
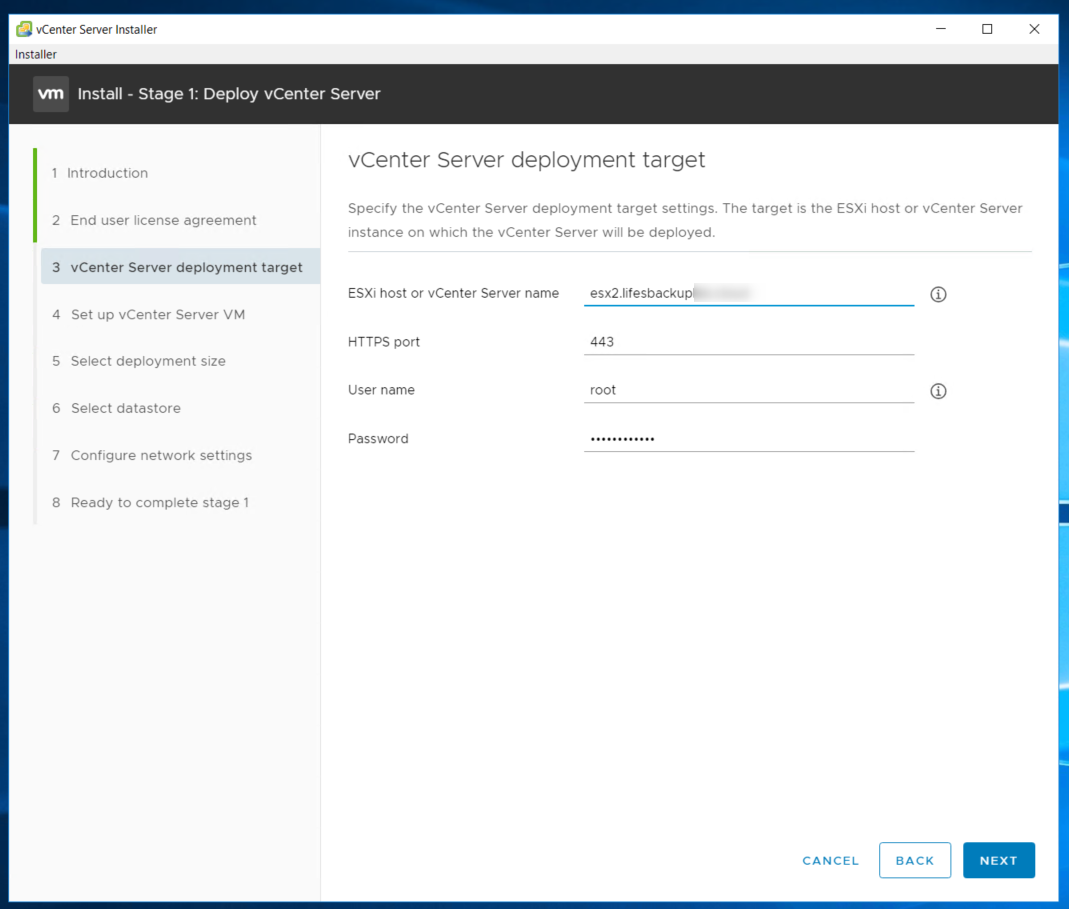
- Specify the ESXi host or vCenter where you are deploying this OVA.
- Make sure the host is ping-able by name when using DNS (Forward and reverse).
- Specify username and password for authentication.
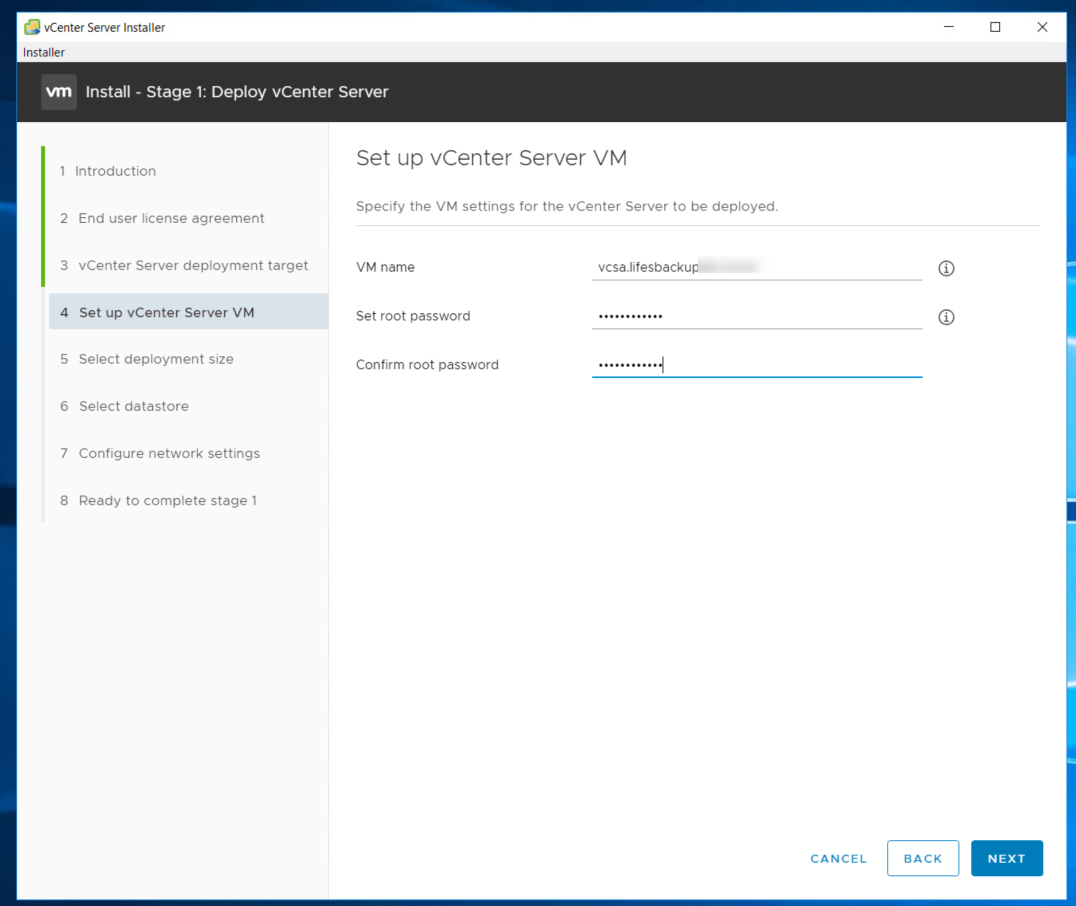
- Specify the VM name of your VCSA appliance.
- Set the root password so you can log into your appliance later on.
- Choose your desired “Deployment Size”
- As this is for my small homelab I will opt to use ‘Tiny” as I would like to preserve resources.

- Select the Datastore where you wish to deploy the VCSA.
- Enable Thin Disk Mode (optional)

- input your network details.
- Specify the FQDN of the appliance.
- Confirm this is resolvable within DNS both forward and reverse.

- Confirm your settings are correct and click Finish.
- If all went well you should see the below page.

- Click on continue to move onto Stage 2.
- Click Next on the introduction page.
- Select the time synchronization mode and Enable SSH if you wish to enable it.
- As this is my lab I have enabled SSH however in production you may want to be cautious when enabling SSH.
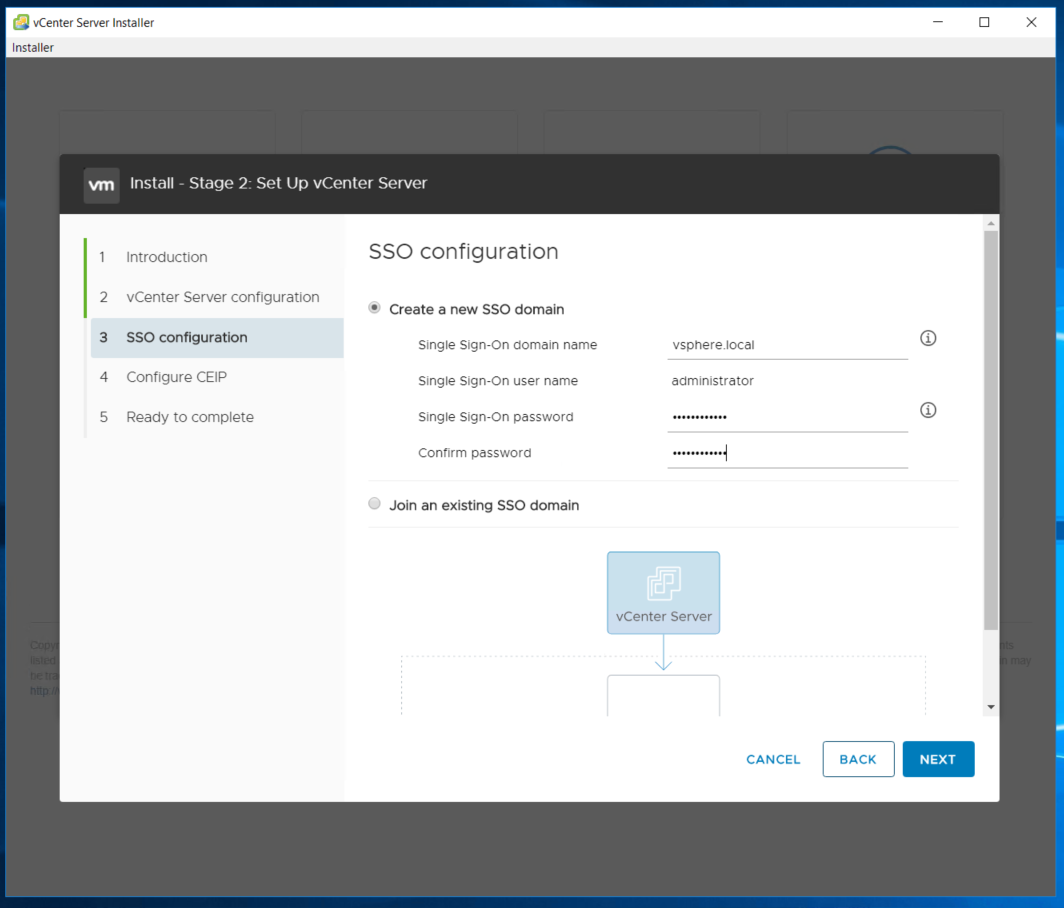
- Specify your SSO settings.
- In my case this is a new SSO domain, you can however join an existing SSO domain if you already have one in your environment.
- Either opt in or out of CEIP by ticking the radio button.
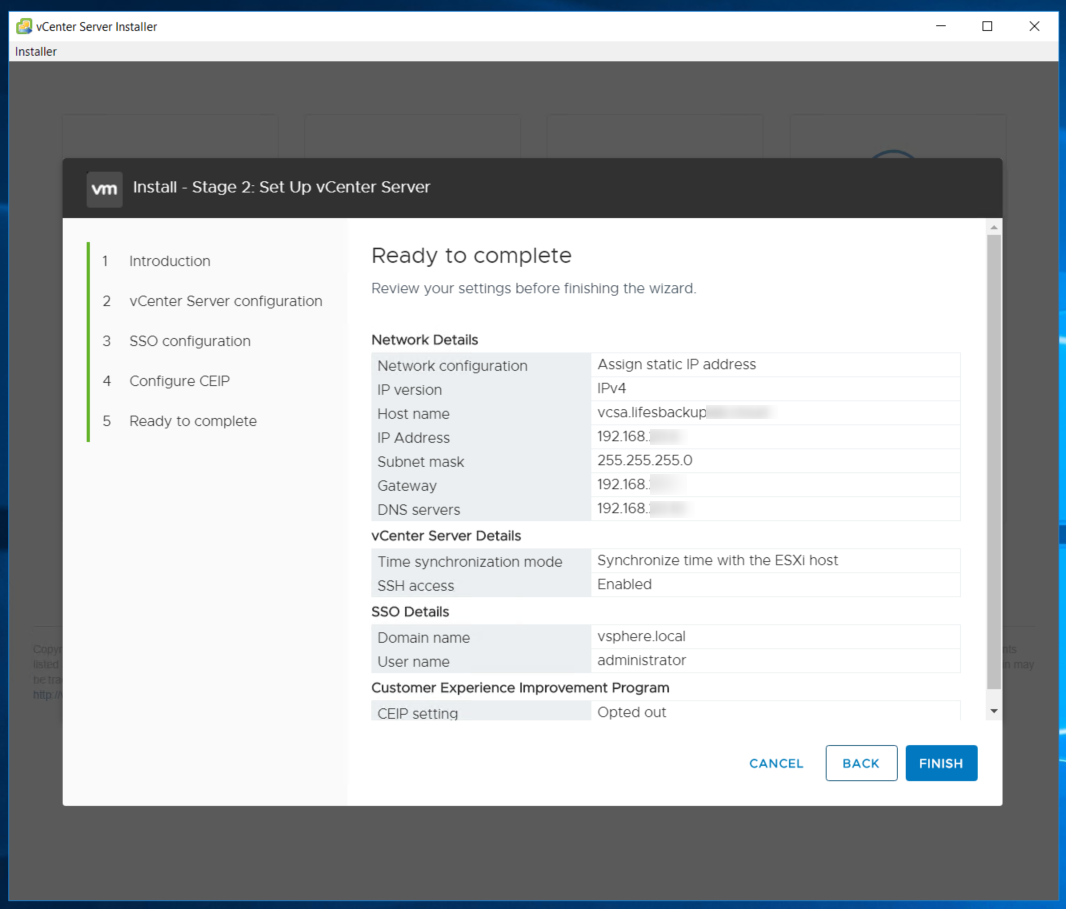
- Confirm all your settings are correct and to your satisfaction.
- If you are happy with the configuration click finish to start Stage 2.
You will receive a warning, don’t be alarmed this is normal to let you know that you cannot pause this process. Once this process starts it cannot be interrupted without corruption and will require you to start from scratch.
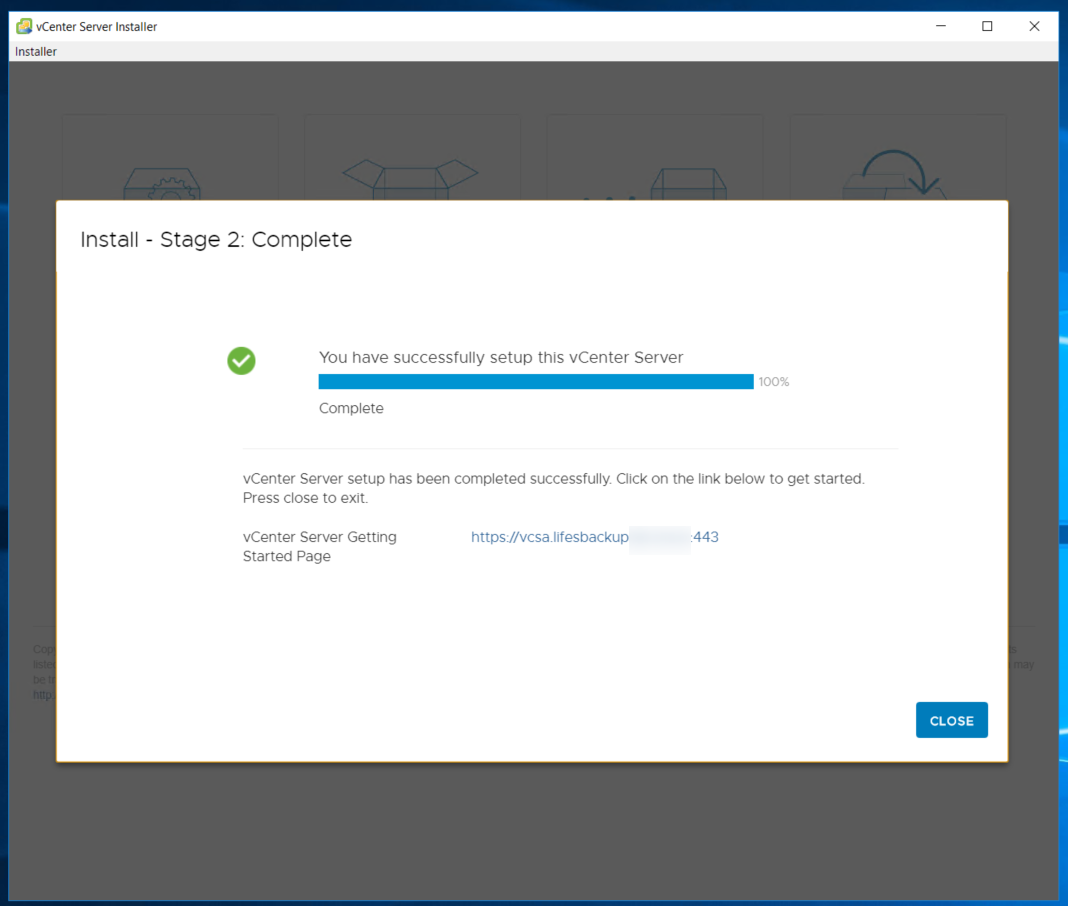
Thats it! If everything has gone according to plan you should see the “Stage 2 Complete” page with a link to your newly deployed VCSA.
- Clicking on the link should take you through to the landing page.
- You may receive a certificate warning, This is normal as its still using a self-signed certificate.
- Select Launch vSphere client (HTML5)
- Provide your log in credentials that you configured during the deployment.
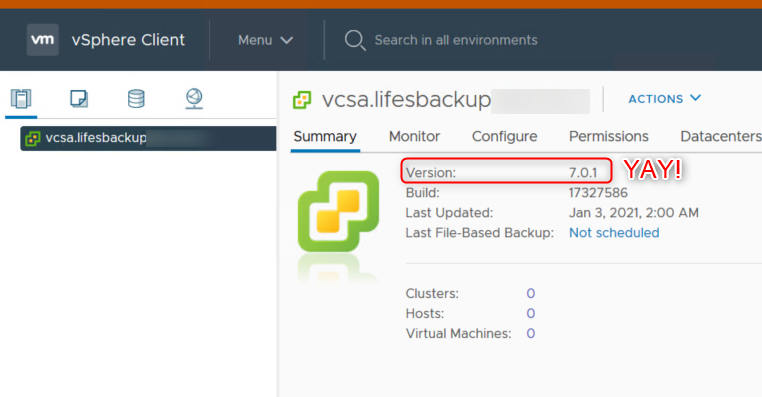
At this point you should be greeted with a fresh vCenter 7 deployment. Once this is done you can start adding in your hosts and setting up your lab just the way you want it.
That brings us to the end of the vCenter deployments. As always, I hope this was informative and easy to follow.