Configuring SAML on Azure AD for Veeam Enterprise Manager
// Table of Contents
Veeam V10 released a heap of new features along with SAML 2.0 support for Veeam Enterprise Manager (VEM). What this means is that you can now use 3rd party identity providers to authenticate users into the Enterprise Manager, adding support for non-Active Directory users, multi-factor authentication etc.
Recently I have been asked how this would work with Azure AD, so I thought I would put together a quick post on how to set it up 🙂
Configuring Azure
We will need to do couple things within Azure, We need to create a security group to add users to who require access to VEM and we need to create an “Enterprise Application” which will allow us to configure SAML.
- Log into your Azure AD Portal
- Navigate to Groups
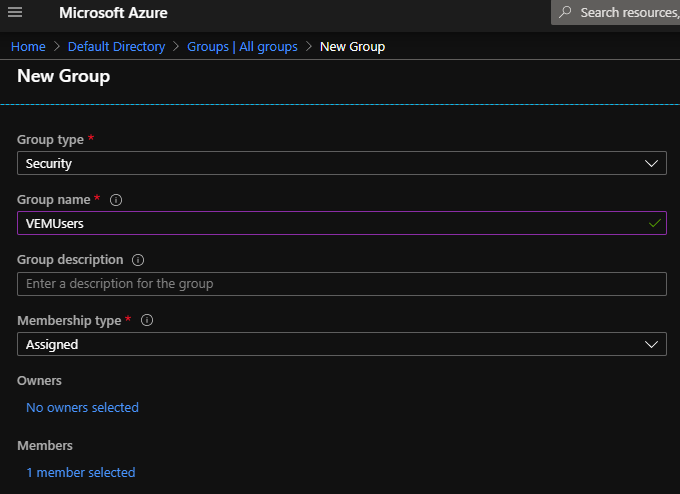
- Select “New Group”
- Give the group an appropriate name
- Add members to the group
- Click “Create” to finish off the process
- Take note of the ObjectID of your group as we will be using this later on when configuring the groups.
Next up we will create the Enterprise Application within Azure.
- On the left hand side panel navigate to Enterprise Applications
- Select “new Application”
- Select Non-Gallery Application
- Provide it with an appropriate name
- Click “Add” to finish the creation
When you are done you should have your Enterprise Application created as below.
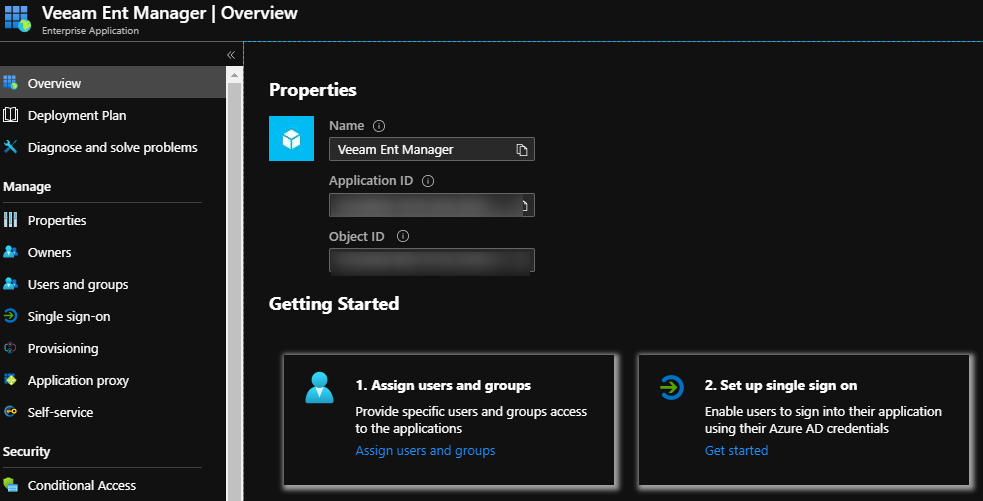
Ok, now that we have the Group created and the Enterprise application created, we can now move on to configuring the Enterprise Application so it can “talk” to Veeam Enterprise Manager. Step.1 will be to assign a user to the application so the app knows which users are actually allowed to use it, We do this by following step 1 in the “Getting Started” wizard as per the above screenshot
- Assign Users and Groups
- Click “Add Users”
- Select the appropriate Group
- Click “assign” to finish
The next step in the “Getting Started” wizard is where things get interesting, Set up single sign on is where things get a little bit tricky as there is a bit of jumping around between Azure and VEM to get it running.
Configuring Veeam Enterprise Manager First we will need to move over to Veeam Enterprise Manager to complete some config there.
- Adding External users
- Log into VEM
- Click the gear wheel(Configuration) in the top right corner
- Navigate to Roles
- Add an external Group
- Provide the ObjectID of the group you noted down earlier and specify the role.
- Click ok to finish

- Log in to VEM
- Click the gear wheel(Configuration) in the top right corner
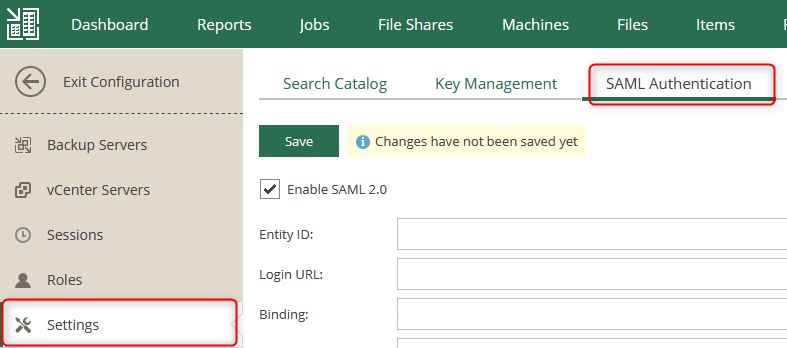
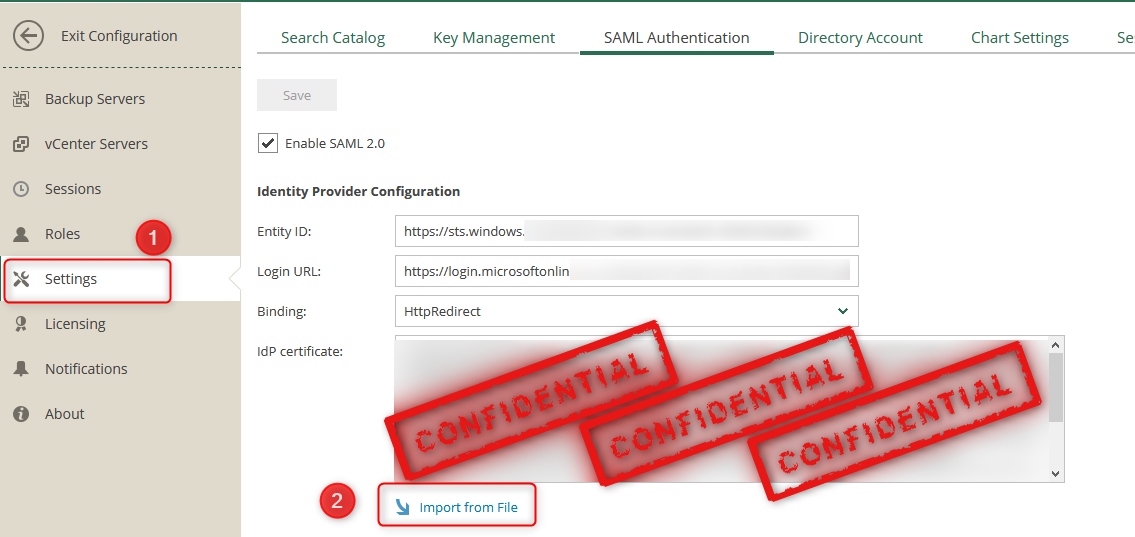
- Navigate to Settings
- open the tab called SAML Authentication
- Enable SAML2.0
- At this point you should be able to edit all the settings on this page.
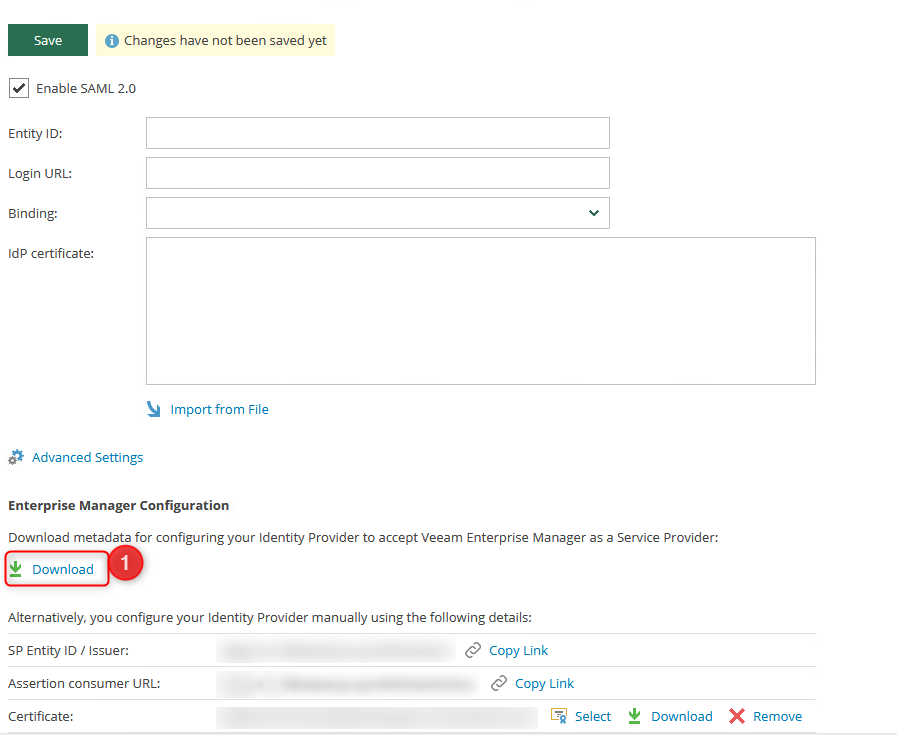
We will need to apply a certificate and configure the advanced settings before we are able to download the Enterprise Manager metadata. The [advanced settings][1] here need to be changed to align with your business’s security practices (Please speak to your security officer in regards to these options)
Once a certificate has been assigned and you are happy with the advanced settings you can download the metadata by clicking on the download button at the bottom of the page.
Upload Metadata File Now back to Azure 🙂 Now that we have the metadata from VEM, we can now import that into Azure so that it knows where to go.
- Navigate back to your Enterprise Application that you created
- Click on “Set up Single Sign on”
- Select “Upload Metadata File”
- Specify the file you downloaded from Enterprise Manager
- Click Add
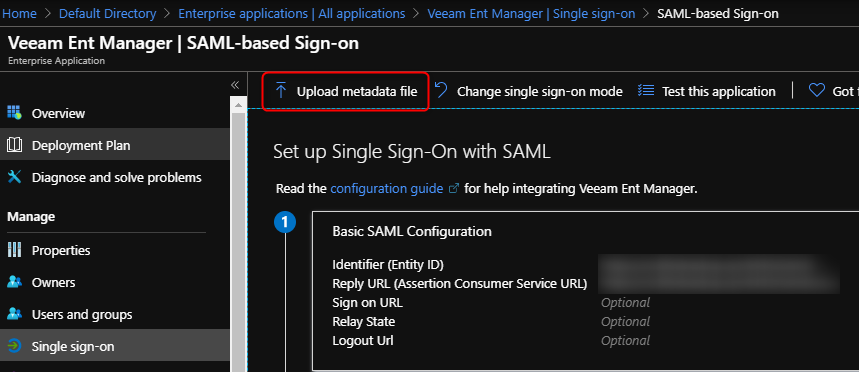
This should automatically populate the Basic SAML configuration based on the settings on your VEM server
Modify Claims Rule Next, we need to modify the claims rules that is sent within the SAML token.
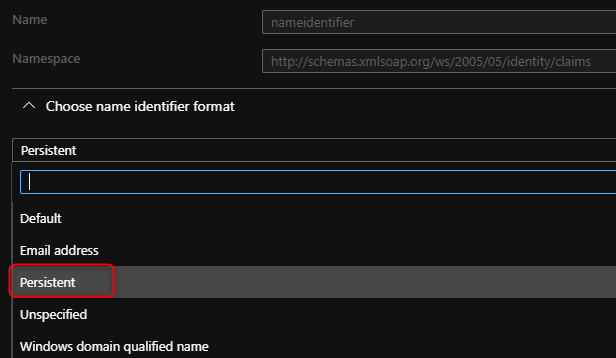
- Click the pencil icon to edit the User Attributes & Claims.

- Select Unique User Identifier and change the format to Persistent.
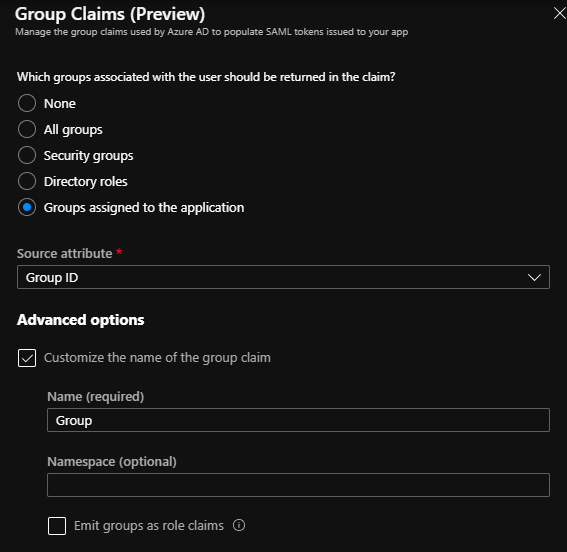
- Add a group claim (Top of the page)
- Select “Groups assigned to the application”
- Source Attribute “Group ID”
- Tick the Advanced Options
- Customize the Name and set the Name field to “Group”
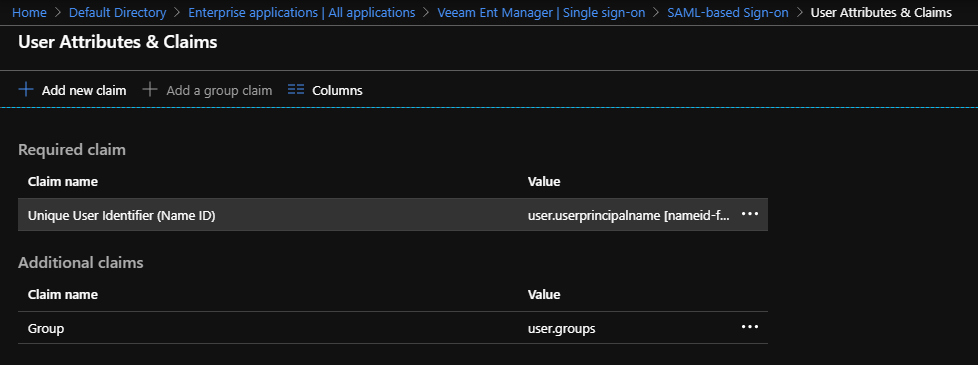
When you are done with the claim rules it should look like the below.
Adding Metadata to VEM server We have now successfully completed all the Azure configuration, what we need to do now is download the metadata from AzureAD and upload it to the VEM server using the “Import from File” option.
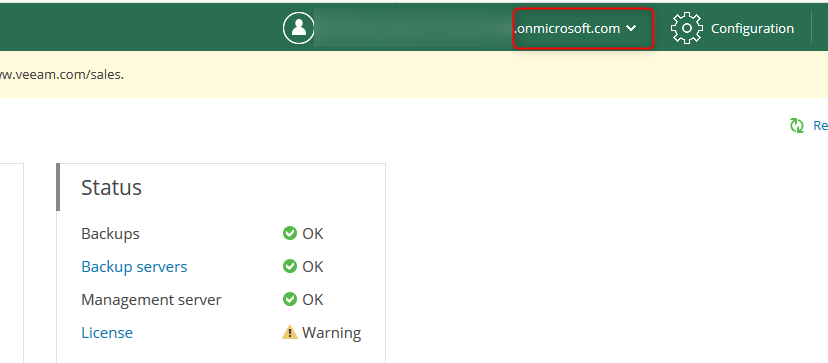
Thats it, all that is left is to test to make sure its working 🙂
As we can see we are now able to log in using my Azure AD account as shown by the .onmicrosoft.com
I hope this was helpful and demystifies SAML authentication a bit.