Installing VeeamPN on Ubuntu
This is an interesting time for I.T. and the entire world, As most people start working from home VPNs have become a fresh hot topic.
So with that in mind I thought I’d run through the installation of VeeamPN and it could not be any easier.
Veeam Powered Network (Veeam PN) is a free Veeam solution that allows you to create a VPN connection between remote sites over the public network.
This post will only cover off the VeeamPN installation and not the Ubuntu install (there is also an appliance based install if you are running VMware).
I will be working with the assumption that you have Ubuntu installed as well as your port forwarding done 🙂
All the information I used to do this can be found on Veeam’s website. https://helpcenter.veeam.com/docs/veeampn/userguide/deployment.html?ver=21
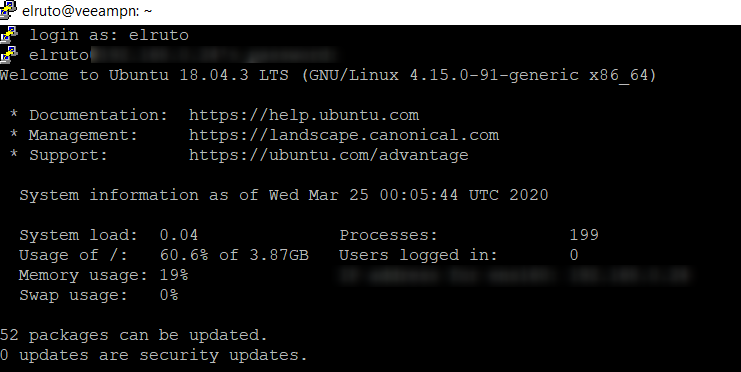
After you have successfully installed and patched the Ubuntu server you are ready to deploy VeeamPN. (Veeam recommends using Ubuntu 18.04 for the installation).
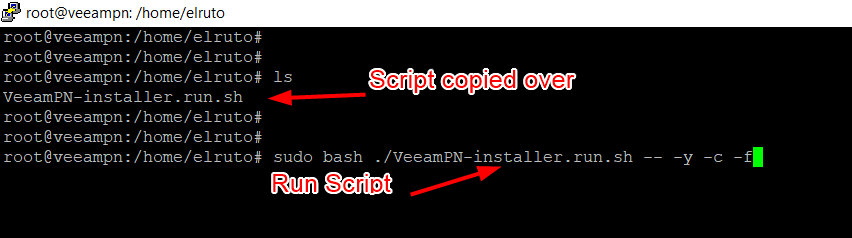
- Step1
- Download the script from the Veeam website and copy it to you Ubuntu server.
- CD to the file location and run the provided script.
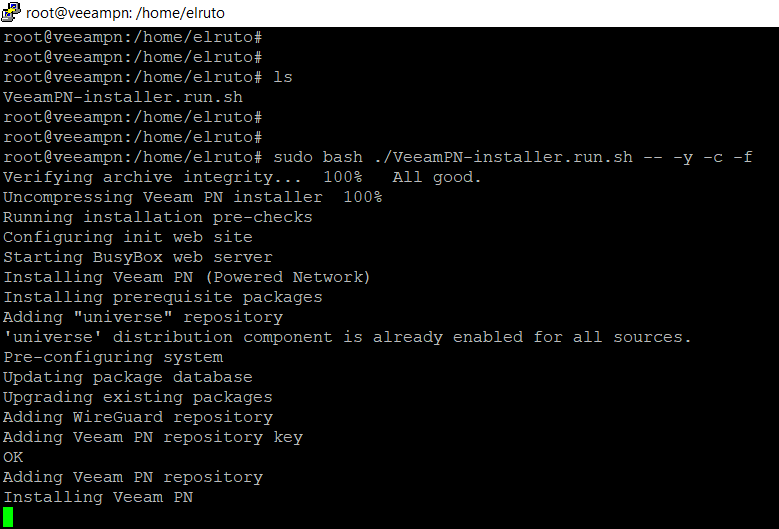
At this point just wait for the script to complete successfully. The script will automatically deploy and configure everything it needs to run.
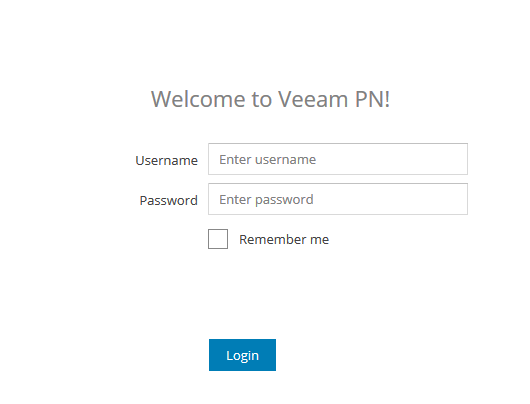
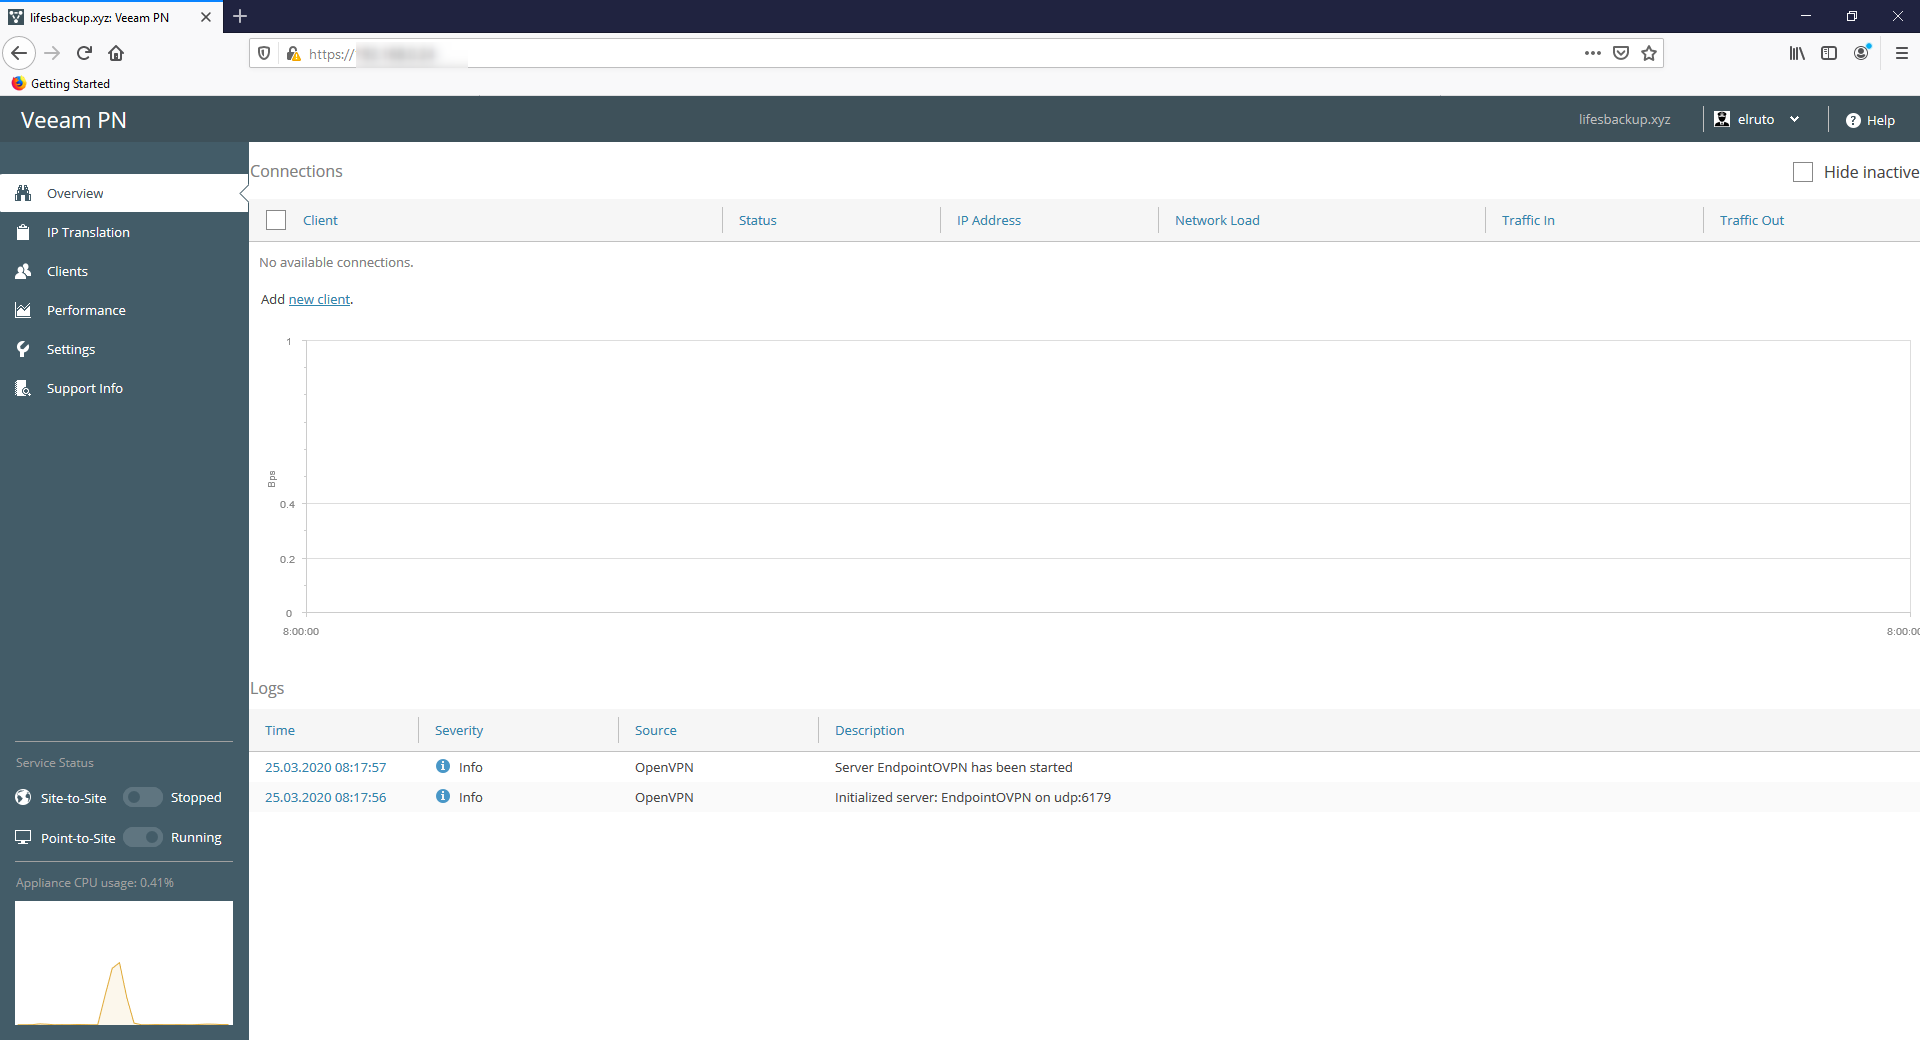
When the script completes successfully you should be able to browse to the login page and be greeted by a ‘Welcome to VEEAM PN” screen.
- Step2
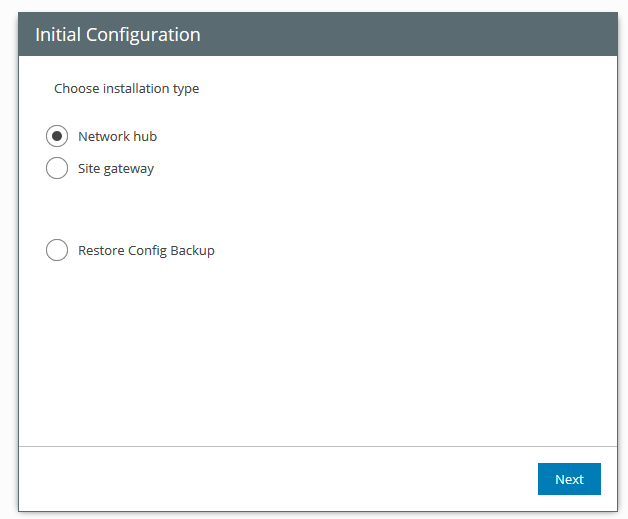
- Once you have signed in you will be asked to choose your installation type.
- Select “Network Hub” (for the purpose of this blog).
- Click Next.
- Step3
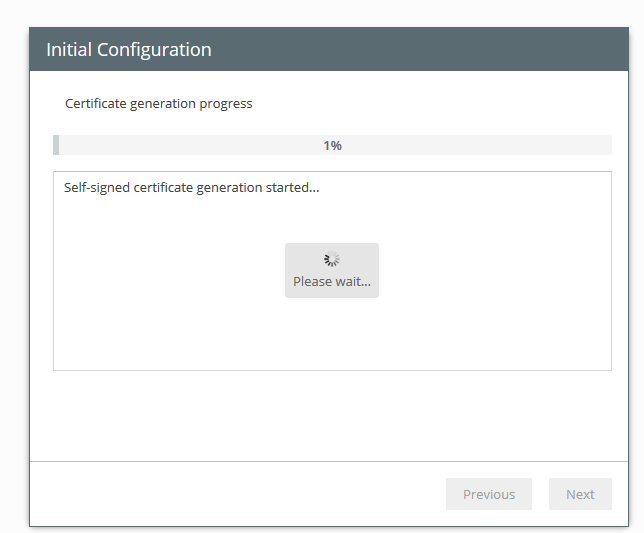
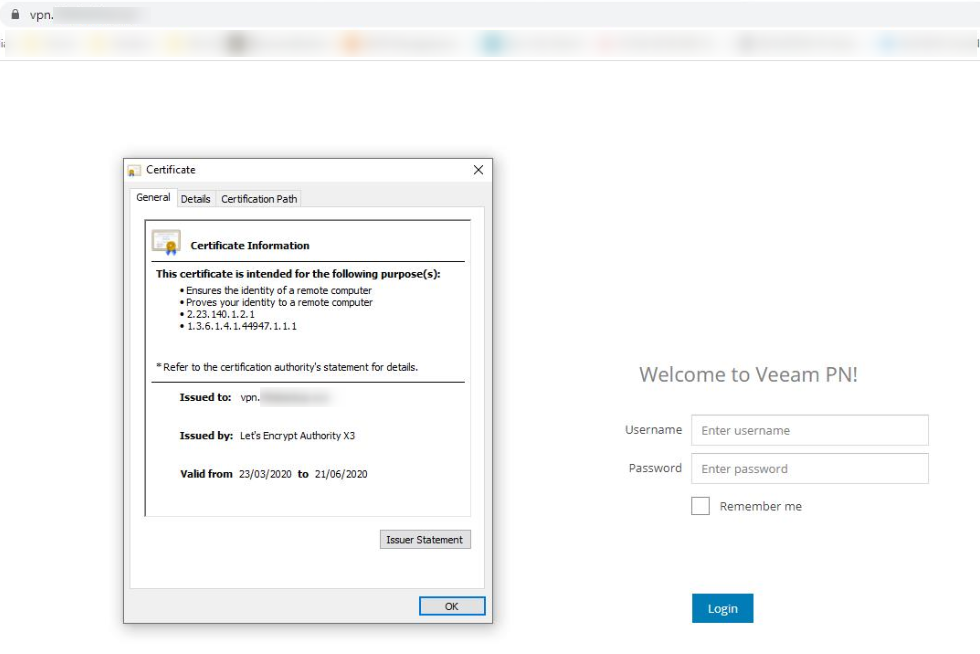
- Configure self-signed cert details (This will be changed to a LetsEncrypt cert later).
- Click Next.
- Step4
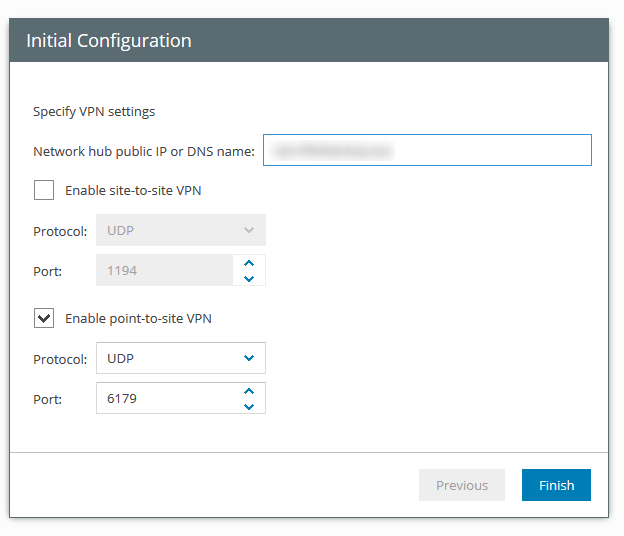
- Configure the VPN details.
- The use case I had used Point-To-Site.
You should now be seeing the VeeamPN screen if all went well 🙂 We are nearly done!
This step is obviously optional but personally I needed to get my certificates signed. Bring in Lets Encrypt!
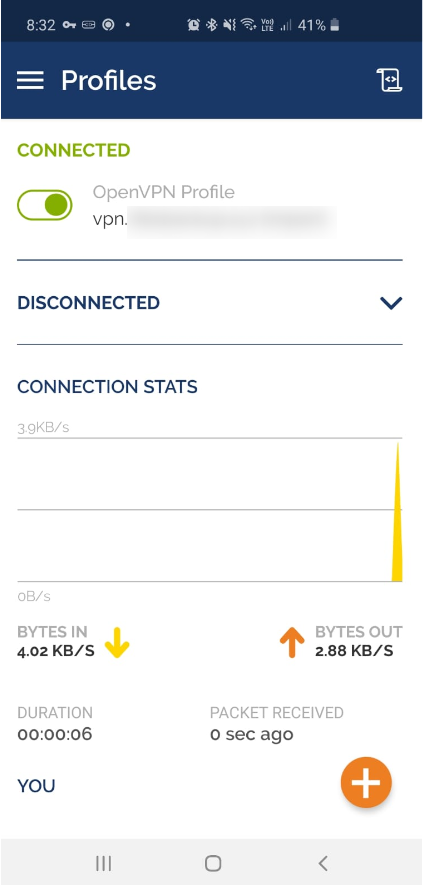
Right, so now that we have VeeamPN installed and we have a signed certificate, all that is left to do is to add some clients and that should be all that is required.
To test this all out I added my Android phone following the below steps.
- Step5
- Navigate to “Clients”.
- Click “+Add”.
- Specify the TYPE, In my case I used “Standalone Computer”.
- Provide a Name and additional information.
- Click Next to finish.
If everything went according to plan you should have your newly created client ready to roll.

Download the ovpn file and import it into your VPN client. Thats it! we’re done!