Using NetApp Trident with Kubernetes – Configuring ONTAP and Trident
Welcome to part 2 of this blog series :), following on from part 1, let’s continue with our ONTAP configuration and setup and get it hooked into our Kubernetes cluster .
Configuring ONTAP Select
-
We will start my adding the require capacity.
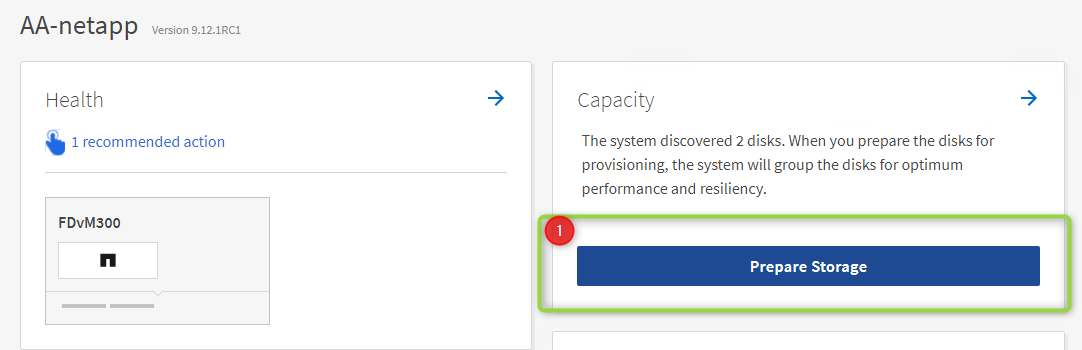
-
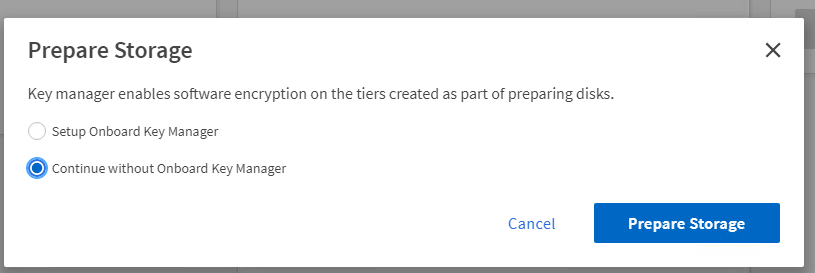
Because this is just my lab I have opted to skip encryption.
- Once that is done, you will see the available capacity.
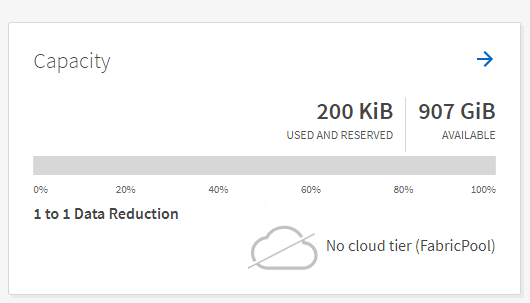
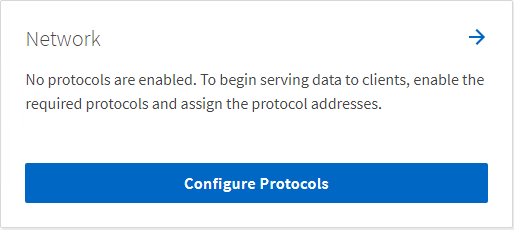
- Next up, we configure the network
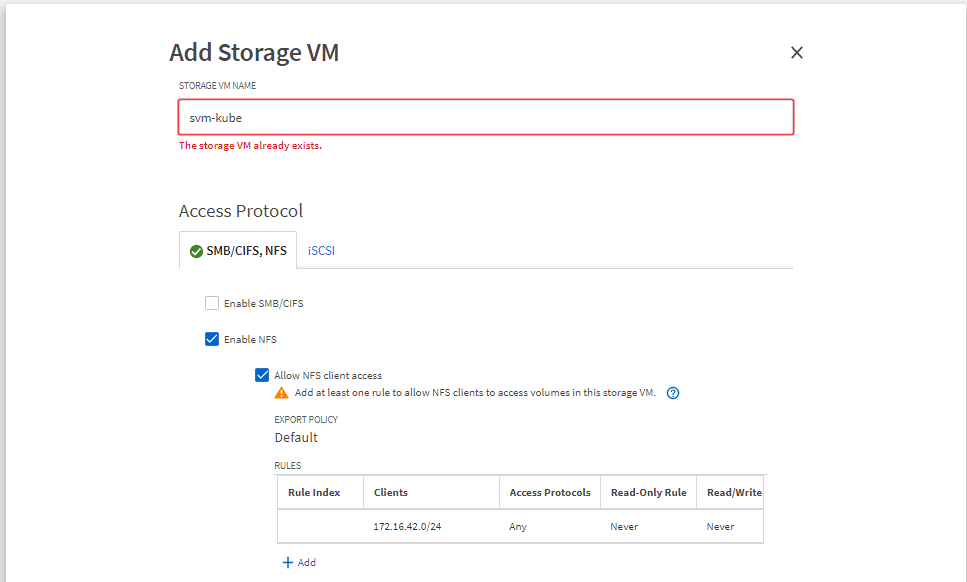
- We need to create a “data” network and configure the NFS protocol, on the home screen click on configure Protocols.
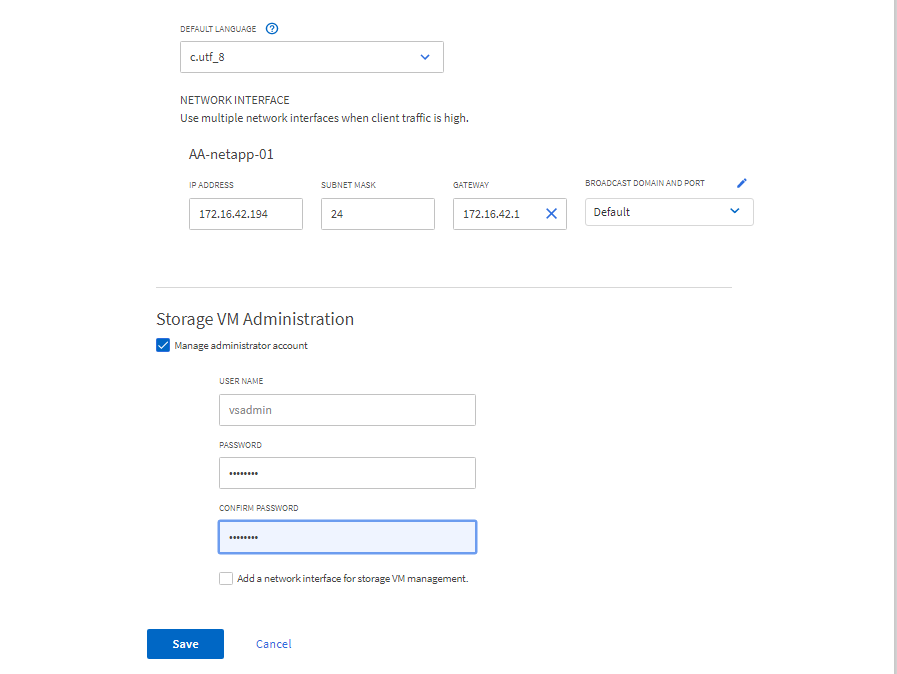
- Give your SVM a name, enable NFS and provide some IP addresses for the NFS interface.

- Navigating to the “Network” tab we can now see our new “Data” interfaces, we can see that they are assigned to the SVM we created and are of type DATA and have the NFS protocol assigned.

Configuring Trident/Kubernetes
Now that the storage array has been configured, It’s time we move over to our Kubernetes environment, in order to do this we will need a few things:
- Tridentctl – cli tool used to provide simple access to Trident
- Trident Backend – NFS in my case
- Storage Class
Now that we understand what is required, lets start configuring.
-
Prepare your workers by installing nfs-common-utils on all your workers, once the install is done, reboot your workers.
-
Download the latest Trident release from GitHub and extract the TAR file on your Control Plane server.
-
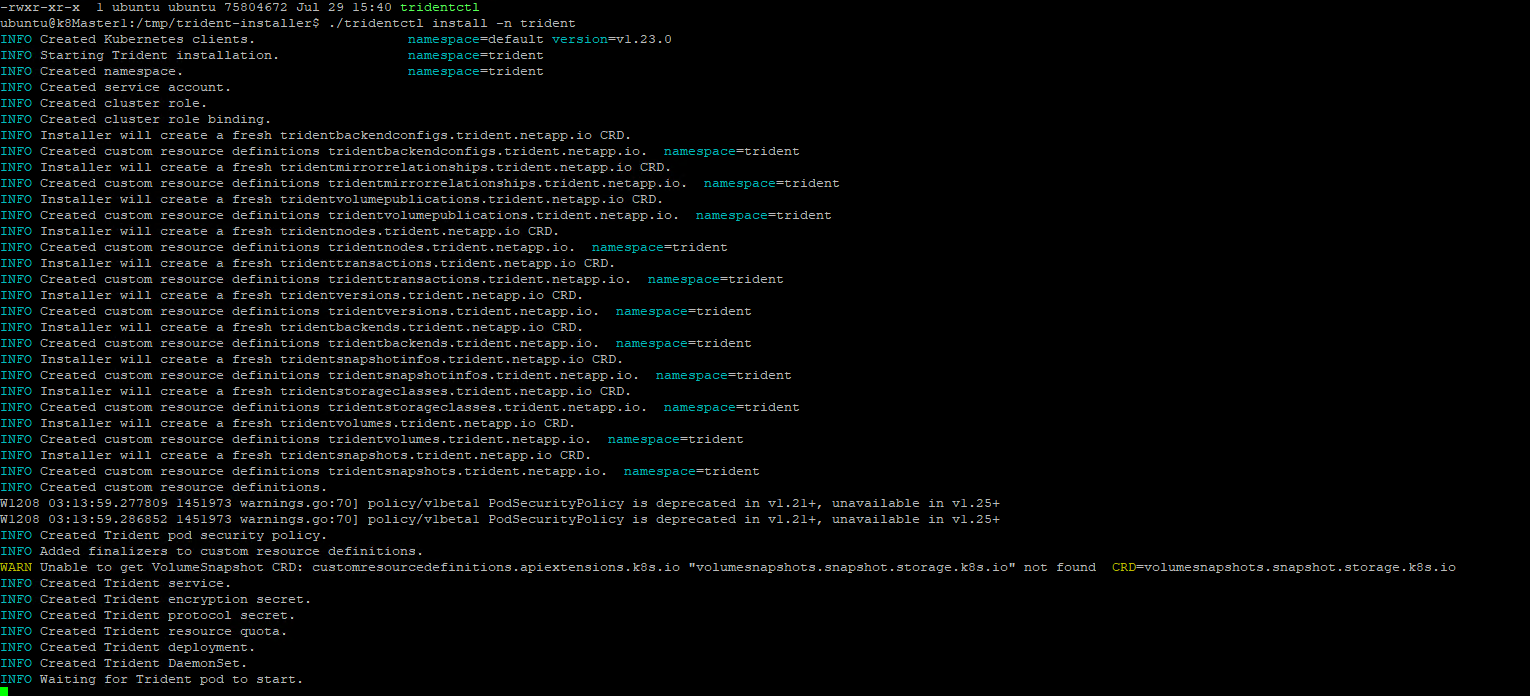
run the command ./tridentctl install -n trident from the extracted folder, this should generate some output which means its in the process of deploying the Trident pod into the trident namespace.
-
On your Control Plane server create a file called backend.json (you can find an example here
{
    "version": 1,
    "storageDriverName": "ontap-nas",
    "managementLIF": "Management IP goes here",
    "dataLIF": "NFS IP goes here",
    "svm": "SVM NAME GOES HERE",
    "username": "USERNAME GOES HERE",
    "password": "PASSWORD GOES HERE",
    "defaults": {
        "spaceReserve": "none",
        "exportPolicy": "EXPORT POLICY GOES HERE"
    }
}
- Run the command ./tridentctl -n trident create backend -f backend.json to create the backend.
- Create a file called storage-class.yaml and copy the below code into the file (example can be found here)
apiVersion: storage.k8s.io/v1
kind: StorageClass
metadata:
  name: trident-sc
provisioner: netapp.io/trident
parameters:
  backendType: "ontap-nas"
- Run the command kubectl create -f storage-class.yaml to create the storage class.
- Set the StorageClass as your default StorageClass by running the command below.
kubectl patch storageclass trident-sc -p '{"metadata": {"annotations":{"storageclass.kubernetes.io/is-default-class":"true"}}}'
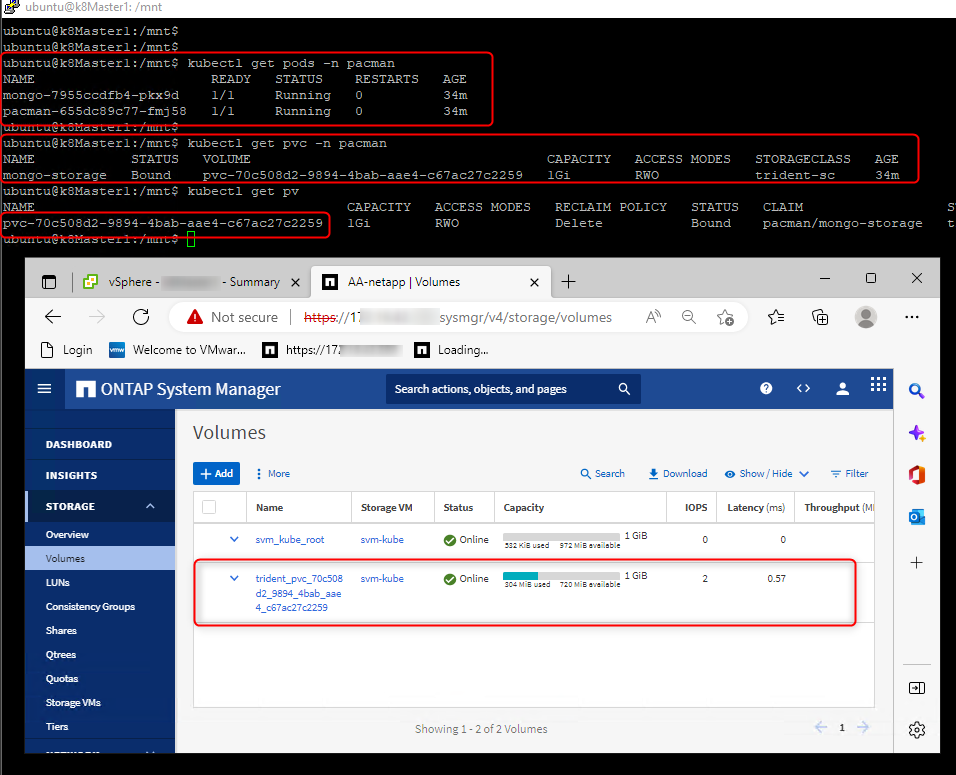
Brilliant, all that is left is to test it, lets spin up Pacman using this chart (Shout out to Dean for the awesome chart), This will create a mongodb pod which requires persistent storage.
As we can see from the screenshot below the mongodb pod successfully created a PVC and requested some storage,1Gi in this case, this in turn told the NetApp array to create a volume of that size ready to be consumed by the mongodb pod! EPIC.
I have had a blast setting this up and hope you have enjoyed it as well so far, in the next post we will be configuring our snapshotclass and deploying a snapshot controller so that Kasten is able to take backups leveraging this amazing storage.
Hope this helps and as always, keep learning.