Veeam For RedHat Virtualization – Part2
Deploying oVirt (Hosted Engine)
In part 1 we got our host ready for oVirt
Now I know a lot of us, myself included haven’t really ever worked with RHV so to match this up to VMware terms, RHV is ESXi and oVirt is vCenter, hopefully, that simplifies it a bit.
As this is just a lab environment we will be deploying our hosted engine on our single node cluster
Pre-Reqs
- DNS A records for the host and for oVirt both froward and reverse
- rhv.lab.local (192.168.10.201)
- ovirt.lab.local(192.168.10.202)
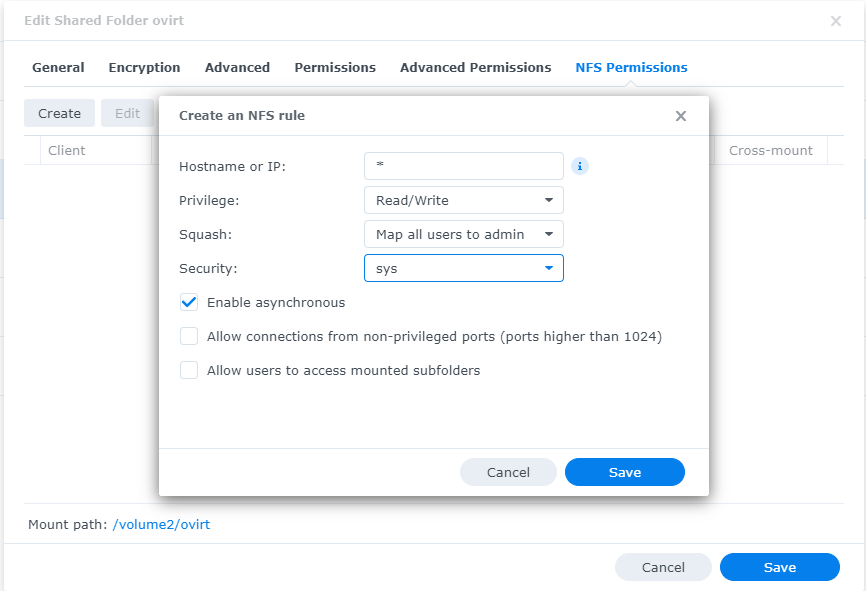
- NFS Share
- nas:/volume2/ovirt
I am using my Synology NAS for my NFS share with the following configuration, again this is a lab environment, If you are deploying this in production please confirm with your network/security team regarding these options.
Right now that we got all the pre-requisites out the way let’s get onto deploying oVirt.
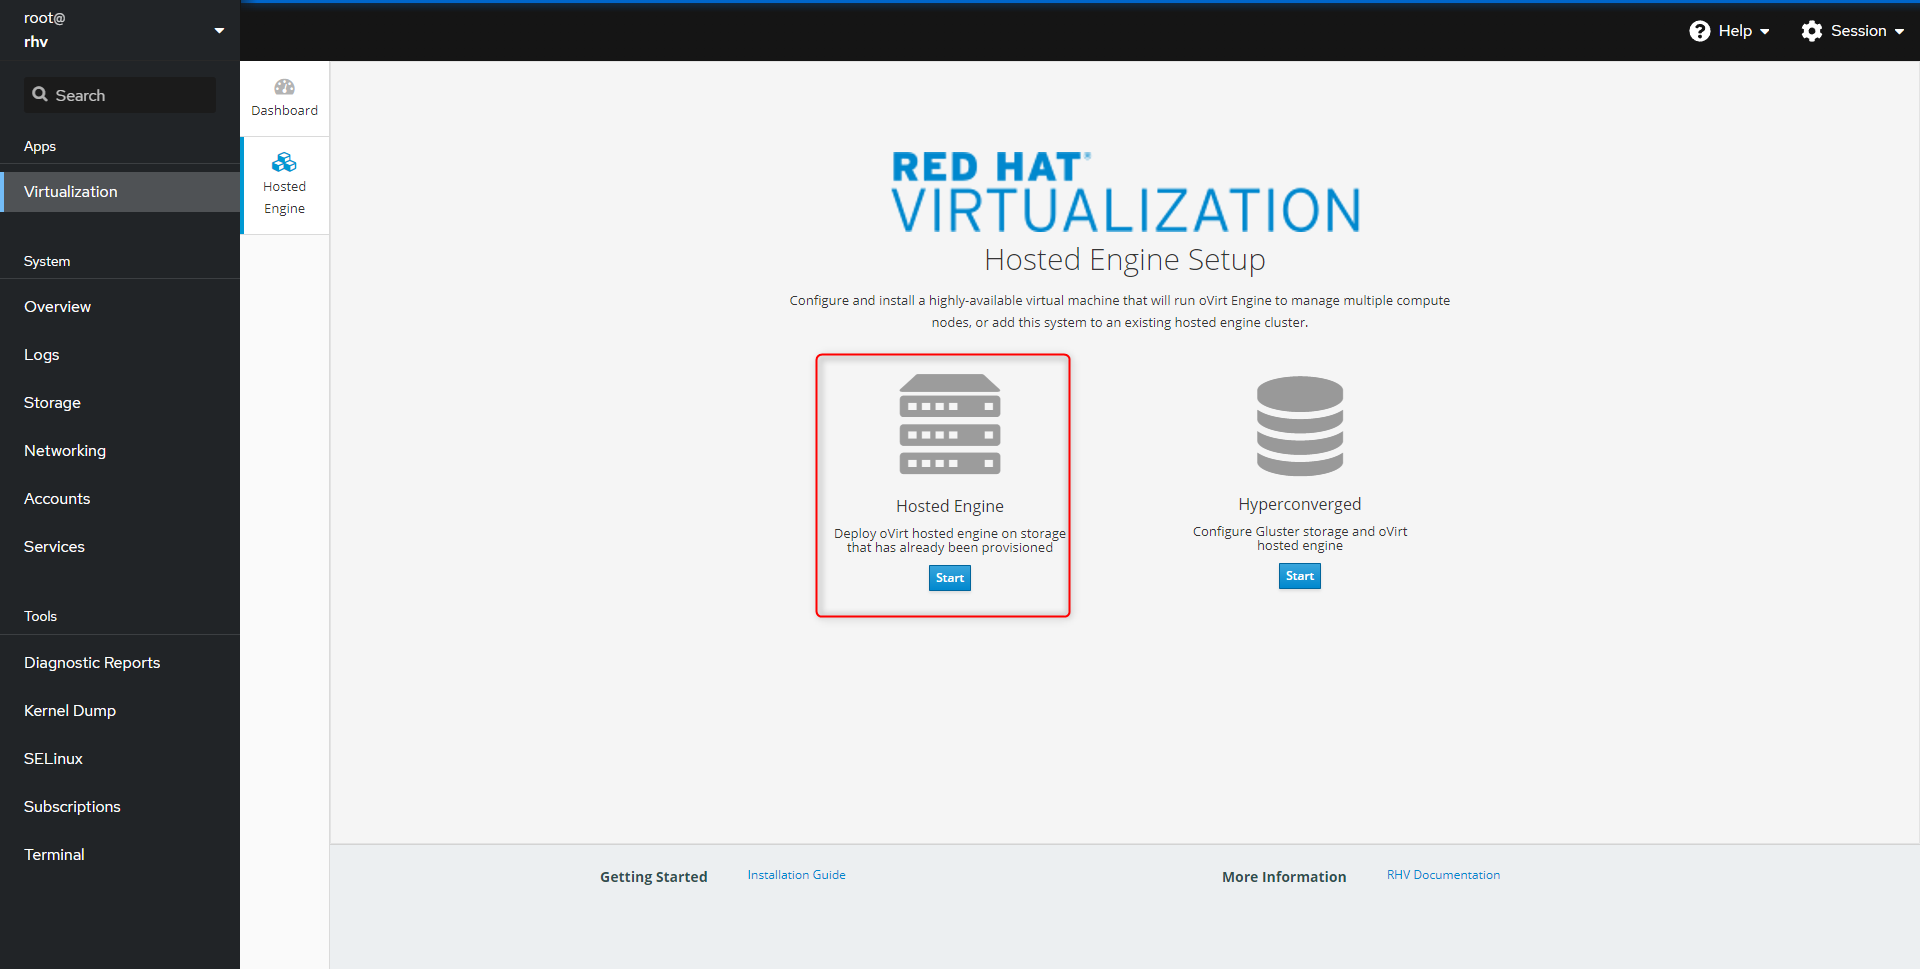
- Log into your host using the web console http://servername:9090
- Navigate to Virtualization and select Hosted Engine
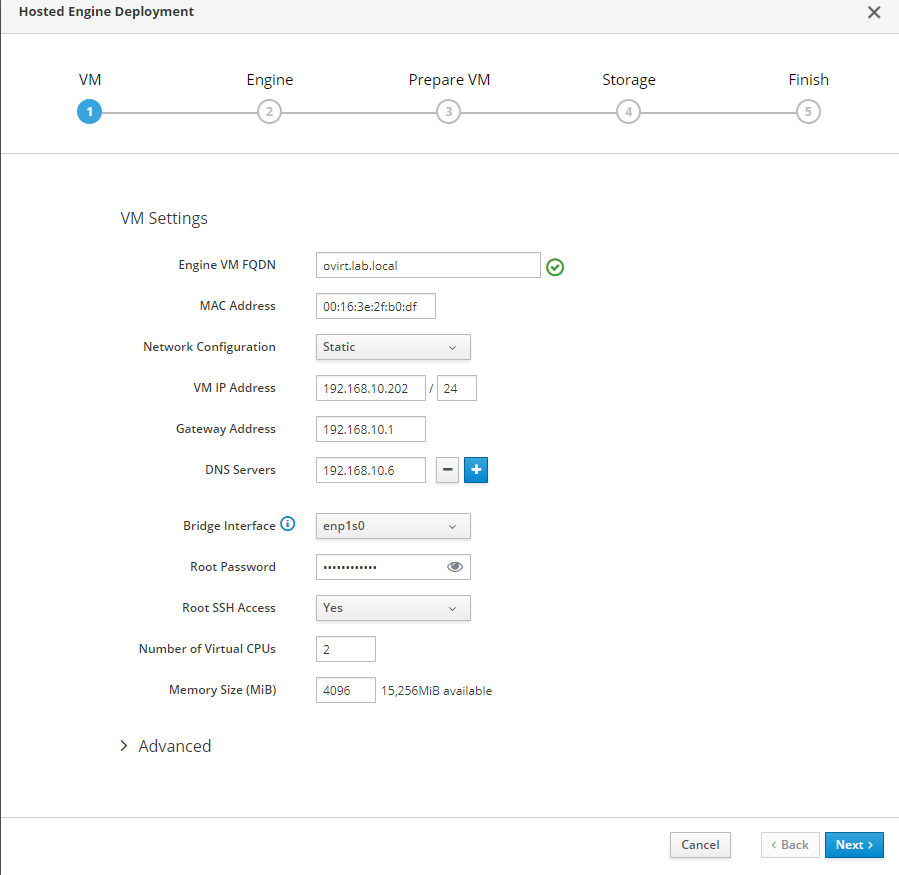
- Populate the requirements to best suit your environment
- As per the pre-reqs you need your DNS records created prior to doing this step else it will fail.
- Another tip is configure the network settings first and then enter the Engine VM FQDN else it will also say its failed for some reason.
- Feel free to change the advanced settings to match your requirements, as this is my lab I am using the defaults.
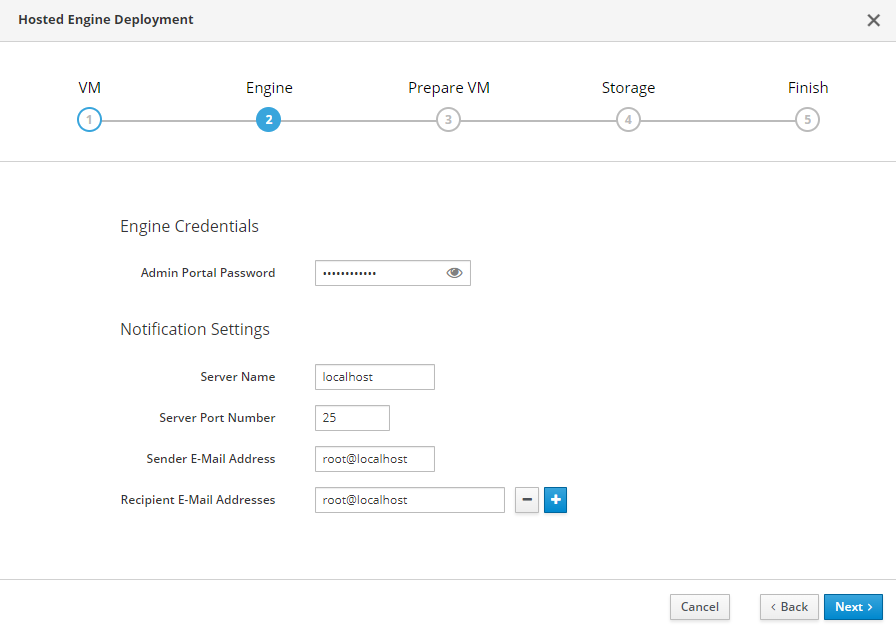
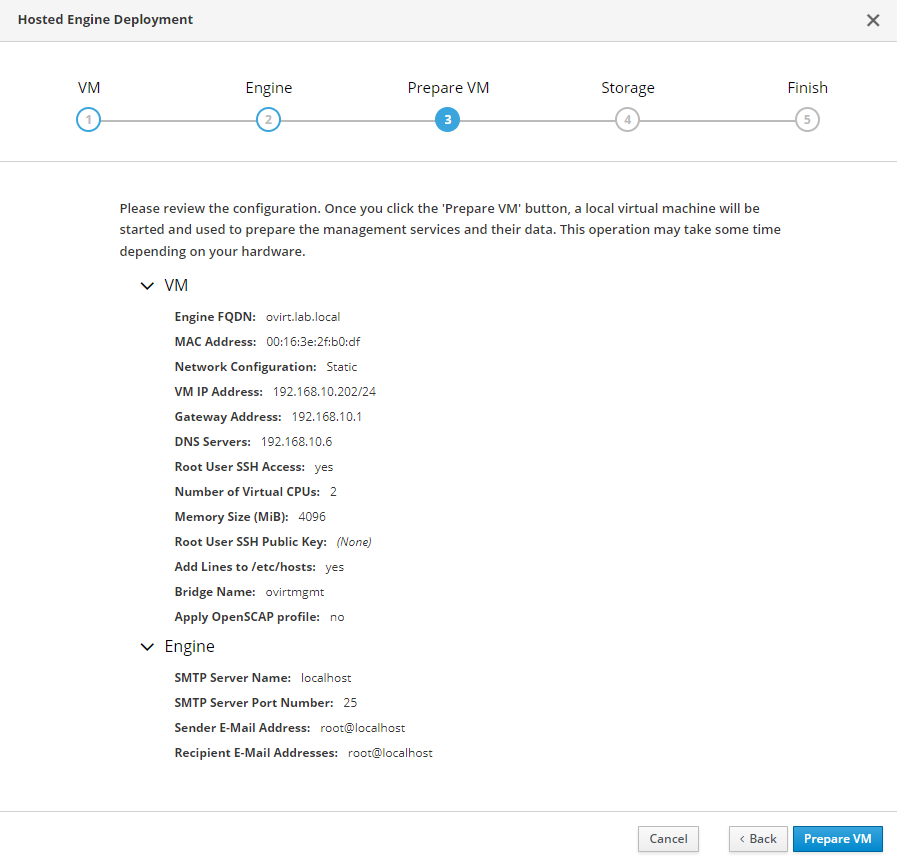
- Provide your Engine with a Admin Portal Password and configure SMTP
-
Confirm you are happy with your config and “Prepare the VM”
-
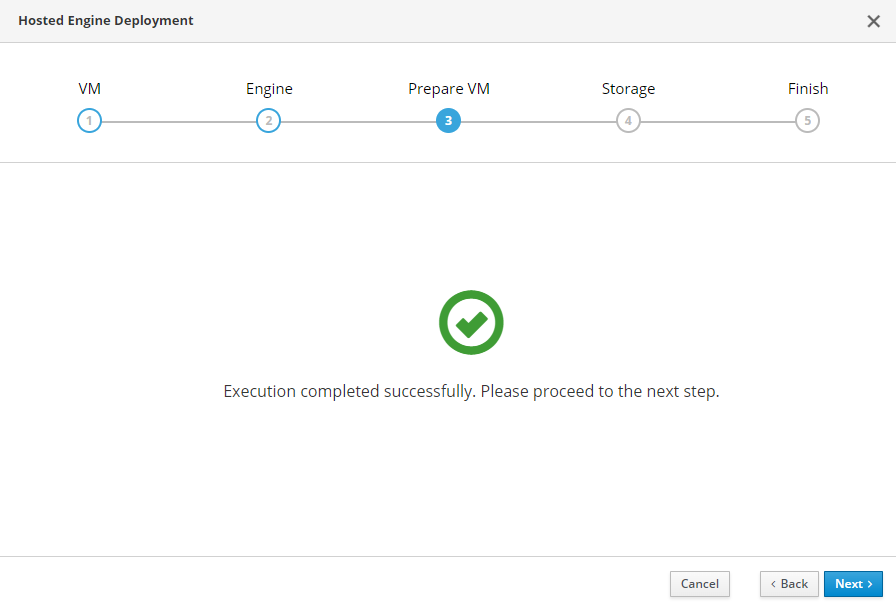
This will kick off a bunch of ansible playbooks in the background, at this point just sit and wait as it runs for a while so be patient, go make a coffee, play a round of a golf (for context this took about 30 minutes in my lab) 🙂
-
Once that’s finally done, you will be greeted with a green tick, This means the VM is prepped and ready for the final deployment steps
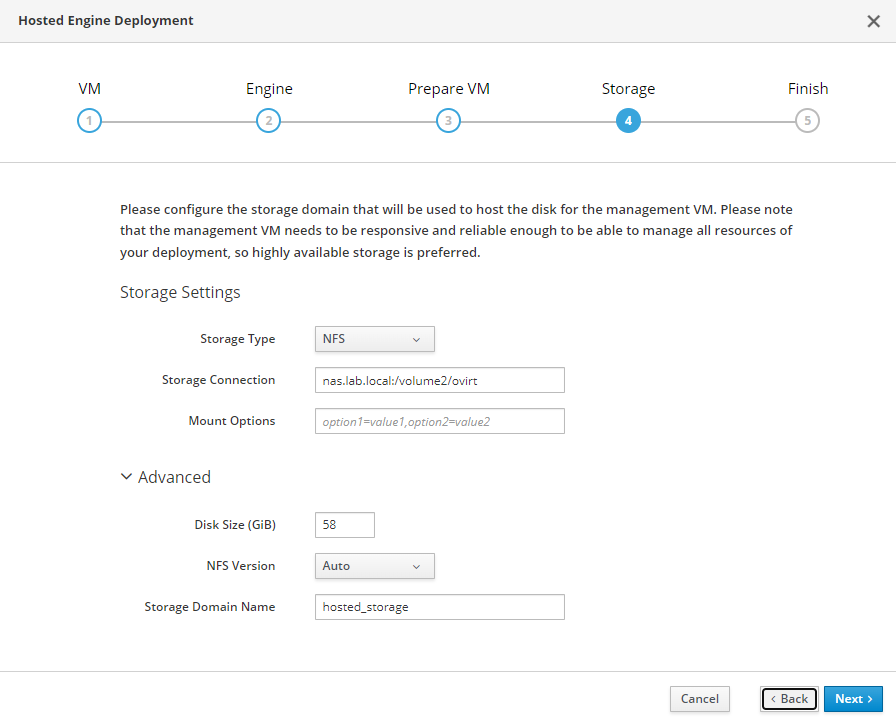
- Next up we need to configure storage, again feel free to change the advanced settings to meet your needs, as this is my lab I will be leaving it as is.
- Click next, confirm your settings and Finish the deployment.
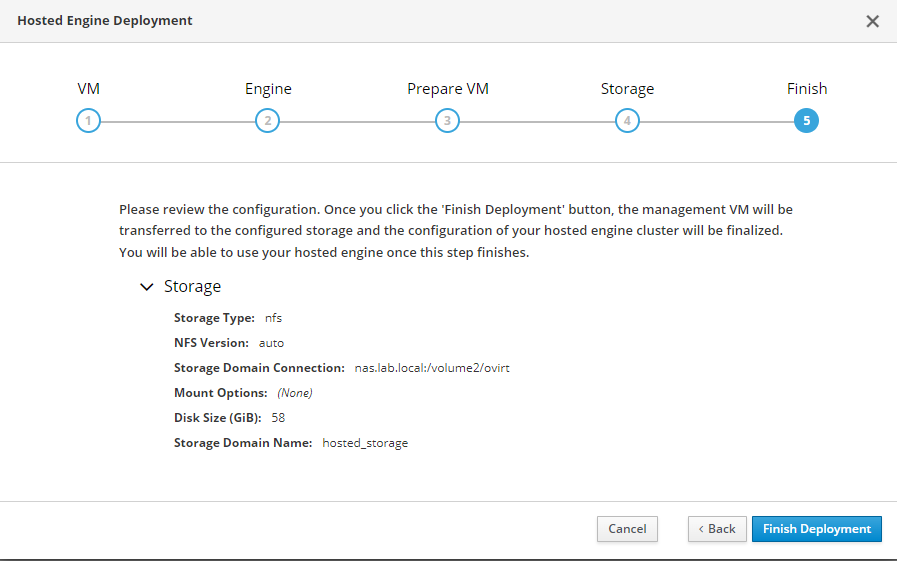
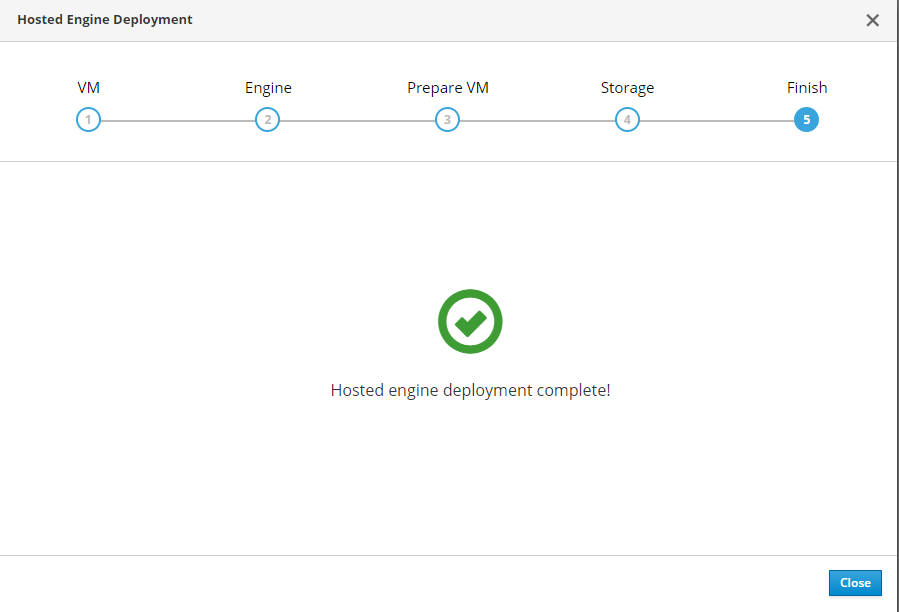
- once we have had another cup of coffee, we should be greeted by another green tick to say the deployment is complete.
- Navigate to https://ovirt.lab.local/ovirt-engine/
- You will notice a few portals
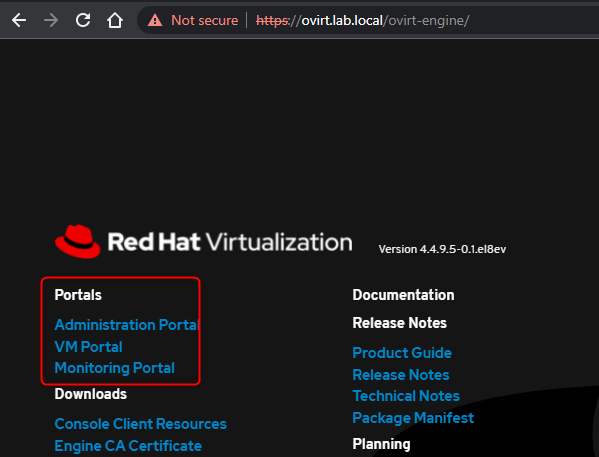
- Navigate to the Administrator Portal
- login with “admin” and the password you set.
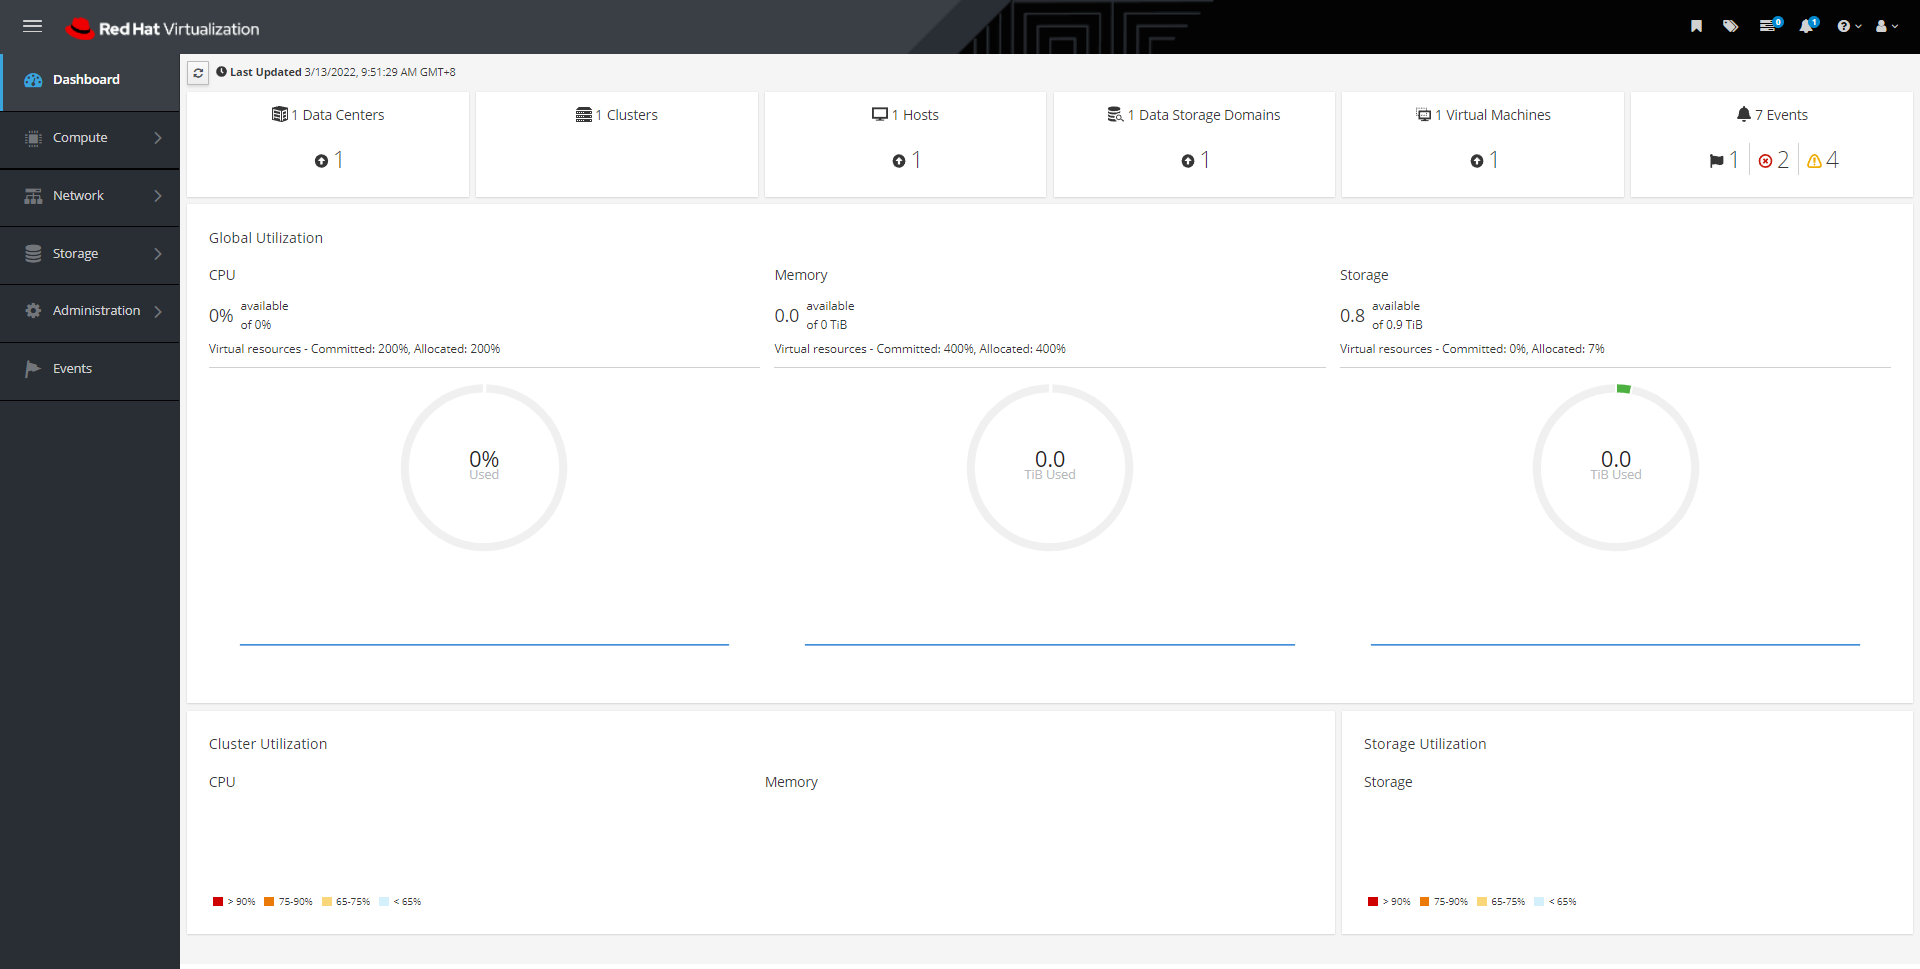
That’s it, oVirt is successfully up and running and we are officially ready for Part 3, Deploying Veeam for RedHat Virtualization.
I hope this has been informative and has always, Keep on learning.