Veeam For RedHat Virtualization – Part1
Red Hat Virtualization is a powerful offering in the enterprise virtualized platform space, specifically designed for resource-intensive and critical applications. For customers who leverage Linux and have standardized on Red Hat as their platform of choice, you now have a backup solution that integrates with the rest of your Red Hat infrastructure. Veeam® Backup for Red Hat Virtualization, a feature of Veeam Backup & Replication™, provides the necessary capabilities to meet your backup targets and service level agreements with confidence.
In this three-part series, we will be covering the deployment of RHV itself, oVirt and how to configure Veeam Backup for Red Hat Virtualization within Veeam Backup and Replication so we can start to protect our RHV workloads.
Deploying Red Hat Virtualization
- Download the RHV ISO
- Mount ISO to your machine (I used a bootable USB Drive)
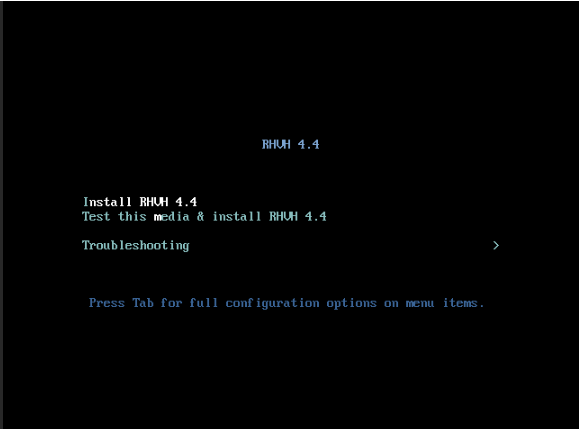
- Boot the ISO and select install RHVH 4.4
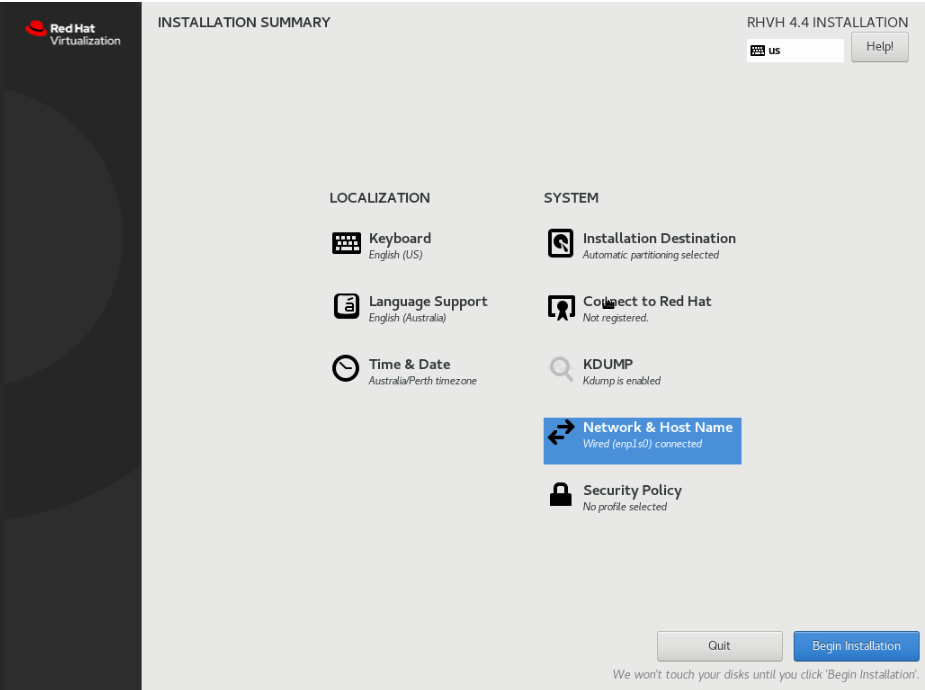
- Configure the installation as per your requirements
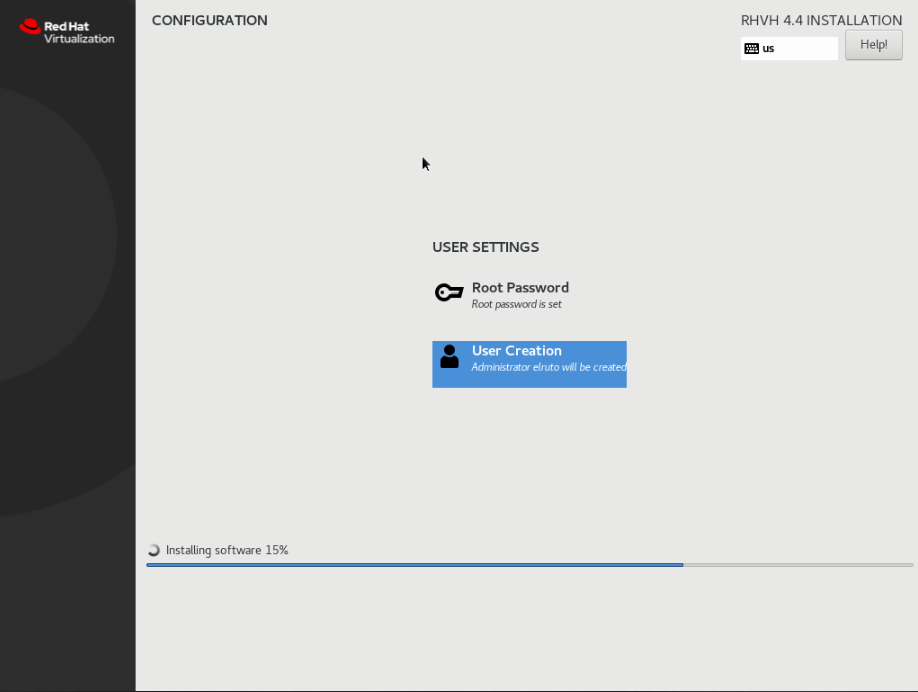
- Set the root password and create a secondary user account(add to admin group)
Once the installer has finished you will be prompted to reboot the host, once you have successfully rebooted the host you will be greeted with a login prompt, alternatively, you can use the web console http://SERVERNAME:9090 (Note: DNS resolving to the RHV server is needed during the oVirt deployment)
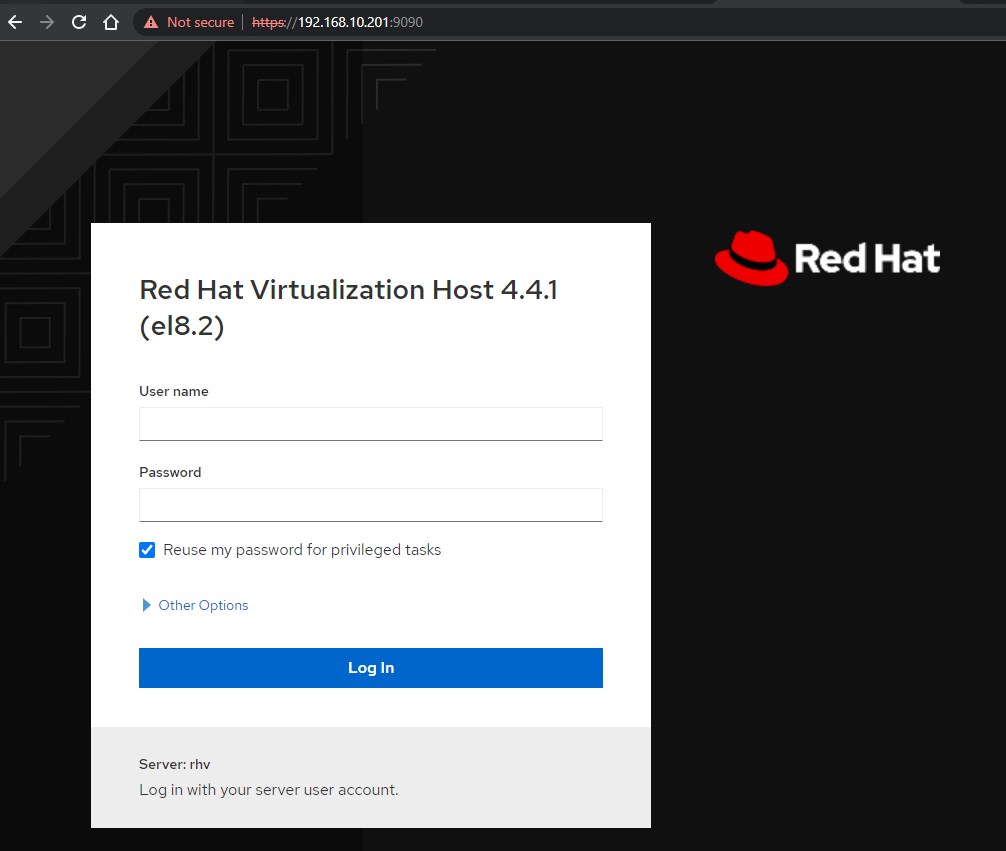
- Login to the web console as either root or the user you created.
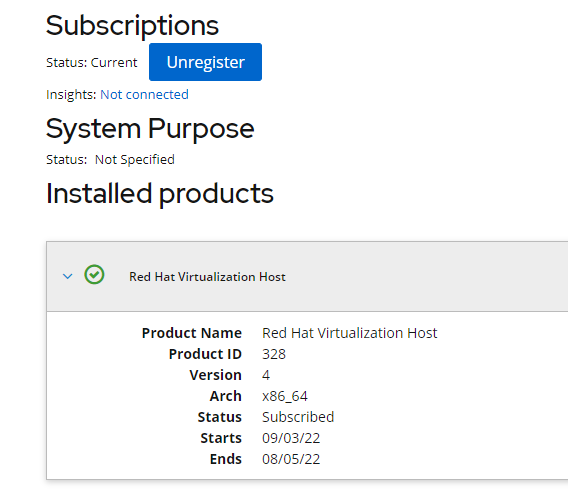
- Navigate to Host – > Subscription
- Register your host with RedHat.
- If you do not currently have a subscription then please check out RedHat’s developer program where they offer free licenses that can be used for test/dev/HomeLabs
- Once you have registered it should look like this.
- Side note
- The registration process can also be achieved from the CLI if you wish, navigate to Terminal instead of subscription and run
subscription-manager register # This will prompt for your username and password that you used to create your redhat account

subscription-manager attach --auto # Attaches your subscription
- Switch to the Terminal tab and run the below command to add the RHV Repo
subscription-manager repos --enable=rhvh-4-for-rhel-8-x86_64-rpms
yum update #This updates RHV to the latest stable version
systemctl reboot # Reboots the host
Once the server has rebooted you can confirm the version on the virtualization dashboard.
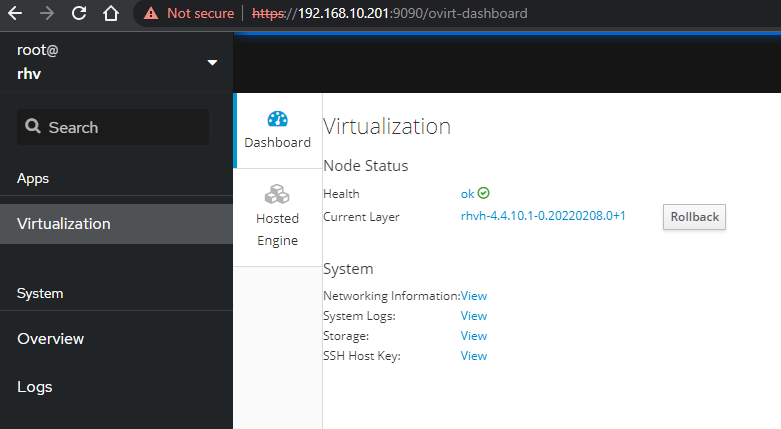
That’s it, the server is now ready for oVirt to be deployed which we will cover in Part 2 of this series 🙂
I hope this has been informative and has always, Keep on learning.